
Bali Leather Craft Workshop – 6 hours ( canggu / seminyak)
Hands-on leather beats another photo stop.
This 6-hour leather workshop near Seminyak turns a quiet slice of Bali (rice fields and a calm studio vibe) into something useful: you create a real item you can use daily. I like that the class is step-by-step, from pattern cutting to final hardware, so you’re not just watching—you’re actively making.
What I really like is the patient, encouraging teaching from instructors like Abenk and Opik, and the freedom to personalize things like leather texture and thread color. One thing to plan for: it’s a long, warm day, so you’ll be glad you bring your own snacks or lunch and water, and you may need to watch for signage when you arrive.
In This Review
- Key things that make this workshop worth your time
- Leather crafting in Bali rice fields, close to Seminyak
- Getting to Kaula Bali and settling into the 10:00 start
- Cutting patterns and choosing leather that suits your style
- Dyeing and preparing leather for stitching
- Hand stitching: where your wallet or purse really takes shape
- Edge polishing, varnish, and the final hardware details
- What you’ll make, and how to choose the right project
- Price and value: is $46 a good deal for 6 hours?
- Who this workshop is best for (and who might want to skip)
- Should you book this Bali leather workshop?
- FAQ
- How long is the Bali Leather Craft Workshop?
- Where does the workshop start and end?
- What does the workshop cost?
- What can I make in the workshop?
- Is this a private activity?
- Can I get a refund if I change my mind?
Key things that make this workshop worth your time
- Rice-field setting that keeps the day calm, not chaotic.
- Private class setup where only your group participates.
- True hands-on process from cutting to stitching to edge finishing.
- Color and thread choices so your item looks like you, not like a cookie-cutter souvenir.
- Final varnish and hardware (like snaps or buttons) for a polished result.
- Helpful pacing from instructors including Abenk and Opik, suited to your level.
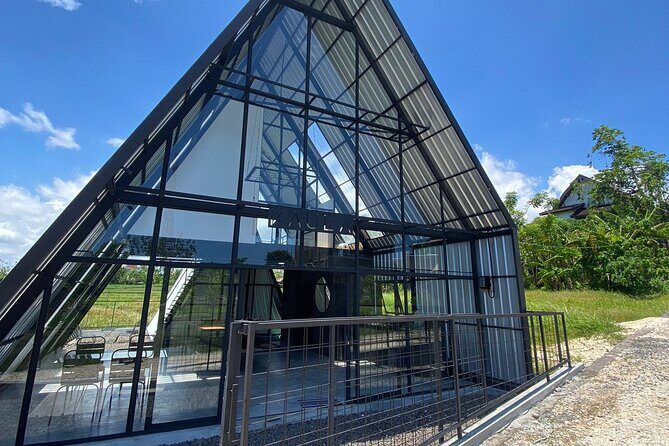
Leather crafting in Bali rice fields, close to Seminyak
Bali is great at setting the scene, but this class nails something more practical: it gives you a finished leather item without the usual “tour-bus craft” feel. Instead of rushing through a demo, you work your way through each stage of leather making. That matters because leathercraft is one of those skills where the small steps create the quality you can actually feel later.
The workshop is based in Seminyak/Canggu area, but the day’s mood is quiet. The workshop setting is described as peaceful, with the kind of view you’d normally only get when you’re taking a scenic detour. That’s a real value for a vacation day: you get a “doing” activity, not just a “standing and looking” activity.
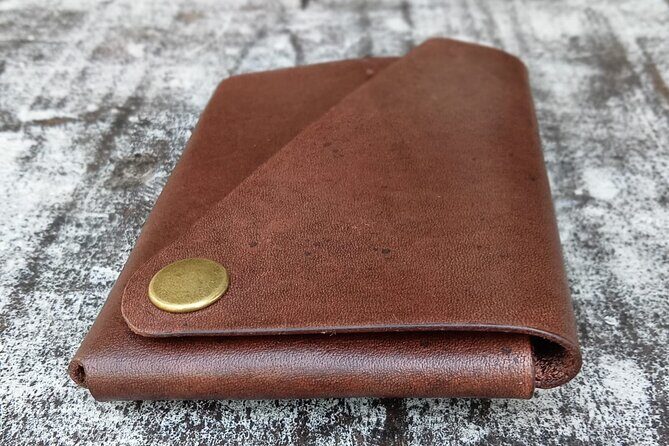
The class is also product-focused. You leave with something tangible you made yourself—examples include a wallet, purse, belt, or jewelry set. That’s a different kind of souvenir. It’s also a nice fix if you’re tired of buying items that feel mass-produced.
Getting to Kaula Bali and settling into the 10:00 start
The workshop starts at 10:00 am and returns back to the same meeting point at the end. The meeting location is Kaula Bali – Leather Workshop on Gg. Yogya, Kerobokan Kaja, Kec. Kuta Utara, Kabupaten Badung, Bali 80361. Since it’s “near public transportation,” you don’t need a private driver to make this work, though you still may want a taxi/ride-hail for comfort.
A practical tip: plan to arrive a few minutes early. One issue that can slow people down is that signage may not be super obvious from the main street. If you’re relying on your map app, do a quick check of the final turn before you’re right there—this kind of workshop is easiest when you’re not rushing your way in during a busy Bali day.
Also, it’s a private activity, meaning only your group participates. That usually translates into fewer waiting gaps and more direct help with tasks like aligning pieces for stitching or getting dye results consistent.
Cutting patterns and choosing leather that suits your style
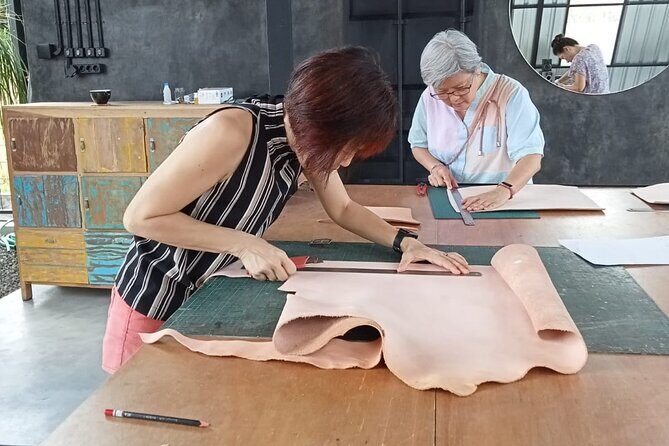
Leathercraft starts with layout and measurements. In this workshop, you learn the steps to create the shape you want, beginning with cutting the pattern to size. This isn’t just busywork. Pattern cutting affects everything that follows—how neatly edges meet, how comfortable a wallet feels in your hand, and whether seams sit flat.
Then you move into selecting your leather finish. You’ll add color using dyes and finishes from options provided during the class. This is where personalization becomes real. In real leathercraft, a “color choice” isn’t just aesthetic—it affects the final look of edges, how contrast shows up in stitching, and how the item ages.
Two details I’d pay attention to:
- Choose thread color thoughtfully. It’s small, but it controls whether the item looks subtle or intentionally bold.
- Ask questions before you cut. Once leather is cut, changing your mind gets expensive fast—time-wise and material-wise.
The biggest advantage of learning this in a guided setting is that you don’t need prior skill to understand what matters. The instructor helps you get unstuck, and the class structure keeps the pace moving.
Dyeing and preparing leather for stitching
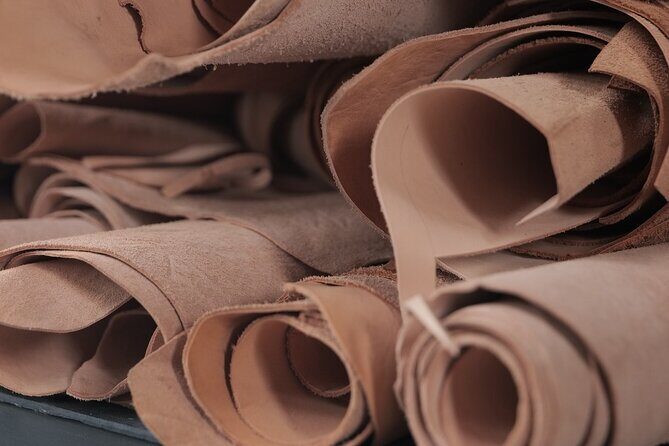
After pattern and color work, you’ll move into prepping leather for stitching. This is the part that makes the rest of the build feel smooth instead of stressful. In leathercraft, prep is where you avoid later problems—like uneven seams, pieces that don’t align correctly, or edges that don’t finish cleanly.
You learn how to prepare the leather for sewing, including the steps needed to make stitching precise. The goal is a strong, durable hold, not just an item that looks fine from a distance.
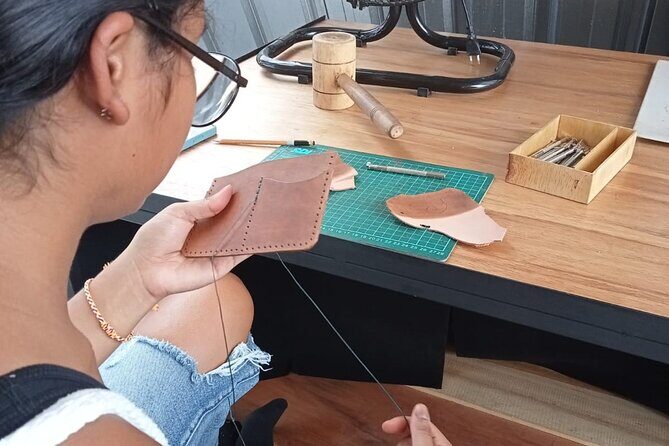
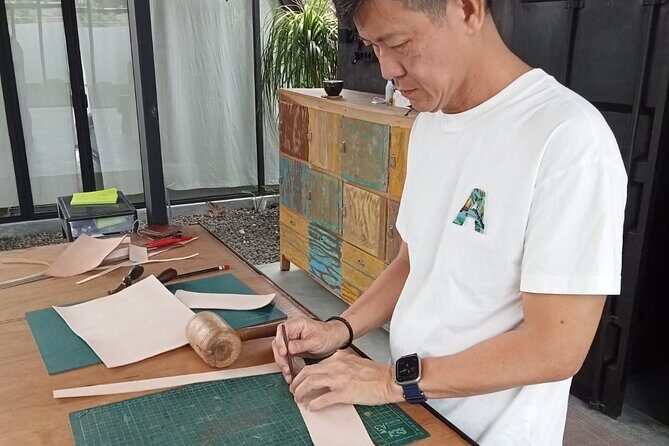
Then comes the actual hand stitching with needle and thread. You’ll sew the leather pieces together by hand, building the structure of your item. Hand stitching also gives you control. If you’ve ever sewn fabric but with leather thickness, you know it’s different. Leather resists in a good way—but you still need the right approach. Having an instructor show the technique matters here.
This part is also where the patient teaching really shows. With instructors like Abenk and Opik, the instruction is paced to your level, so you’re not stuck copying someone else’s rhythm.
Hand stitching: where your wallet or purse really takes shape
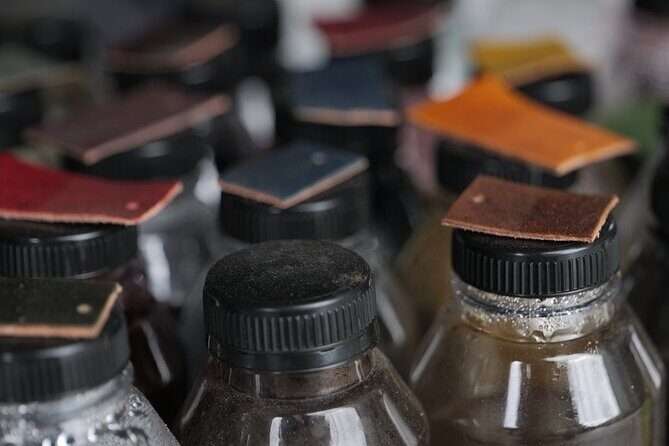
Once stitching begins, you’ll feel the project shift from materials into an object. This is the “I can see it now” stage: seams take form, shapes start holding their lines, and your item becomes something you can picture using later.
You’re learning the method of sewing leather pieces together so the final product is both strong and functional. That’s important because a leather wallet isn’t only about looks. A good wallet should handle regular handling without seams loosening, and it should lie flat in a way that feels right.
If you’re worried about your skill level, don’t. The format is set up so you can participate. Most people can join, and the teaching approach is designed to meet your pace rather than demand expertise.
A small practical consideration: hand stitching can be a little tiring when you’re learning a new motion. Don’t worry—this is normal. Take breaks when offered, keep your posture comfortable, and keep your attention on alignment. The more careful you are at seam alignment early, the better the result at the end.
Edge polishing, varnish, and the final hardware details
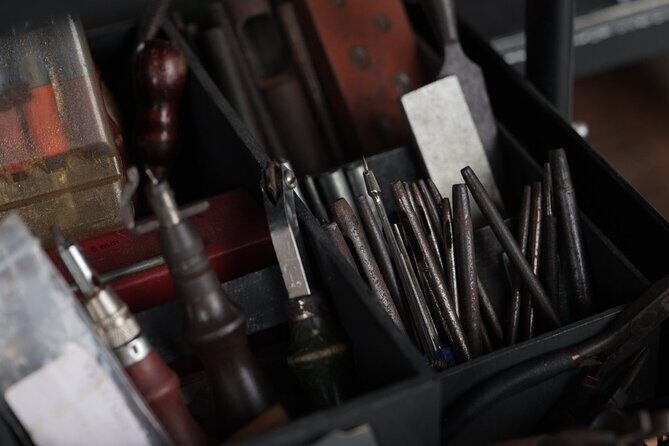
After stitching, you’ll polish the edges and apply a high-quality varnish. This step is the difference between “I made something” and “this looks finished.” Edge polishing improves how the seam and cut edges look and feel, and varnish helps protect the surface so your item looks better over time.
Then you add finishing touches such as snaps, buttons, or other accessories, depending on what you’re making. Hardware selection is another place where the project becomes yours. A clasp type can change the way a wallet closes or how secure a bag feels when you carry it.
This is also where you’ll appreciate that the workshop is structured from start to finish. Many craft experiences stop right after the big work. Here, you get the last steps that make the item feel professional.
By the time you wrap up, you should have a small leather item you created with handmade techniques—often something like a card wallet, small purse, belt, or jewelry set.
What you’ll make, and how to choose the right project
The workshop offers examples of what you can leave with: a wallet, a purse, a belt, or a set of jewelry. Reviews also mention card wallets and taking home multiple finished pieces, so you might be able to plan for an outcome that feels more substantial than one small token.
How to choose what to make:
- Pick something you’ll use soon after returning home. A wallet or card holder is easiest to justify because it gets daily use.
- Match your design choices to your color preferences. The dye options and thread colors you decide on can steer the whole vibe of the finished piece.
- If you want a gift, think about what will actually fit the recipient’s style. A small leather item usually lands better than something too large or too trendy.
If you’re traveling with someone, the private setup is a nice advantage. You can each make your own design without feeling rushed or crowded.
Price and value: is $46 a good deal for 6 hours?
At $46 for about 6 hours, this workshop can be strong value—especially compared with buying a pre-made leather item as a souvenir. The price buys you instructor guidance, the workflow (cutting, dyeing, stitching, finishing), and the chance to produce something you’ll likely use.
Where the value really comes from is learning. You’re not just consuming a lesson; you’re using hands-on craft steps that normally take practice over time. Even if you don’t become a leatherworker that day, you’ll leave with the satisfaction of knowing what each step does.
That said, the best value depends on how you show up:
- If you want a relaxing, guided activity with a tangible outcome, this fits well.
- If you mainly want a quick photo stop, you may not get the same payoff.
Given the calm setting, private group feel, and the finished product quality steps (polish, varnish, hardware), $46 doesn’t feel like a gimmick. It feels like paying for the real work—your time, plus expert help.
Who this workshop is best for (and who might want to skip)
This workshop is a great match for:
- People who like practical activities where you leave with an object.
- Anyone who enjoys customizing—color, thread, and texture choices make a real difference.
- Families or pairs who want a shared day activity in a quieter setting.
It’s also a solid choice if you don’t have leathercraft experience. The format is described as suitable for most participants, and the instructors are patient about pacing and technique.
Consider skipping or adjusting expectations if:
- You hate warm environments and won’t bring water or shade breaks.
- You need everything to be super easy to find on arrival. With potential signage issues, you’ll want to rely on your map and give yourself extra minutes.
- You’re looking for a high-speed “see and leave” activity. This is a making-focused class, not a quick demo.
Should you book this Bali leather workshop?
Book it if you want a calm Bali day with a real payoff: you’ll learn the steps to create a leather item and take home something you genuinely helped build. The combination of rice-field tranquility and hands-on craft is exactly the kind of experience that feels like vacation energy with a practical result.
I’d especially recommend booking if you like personalization—color and thread choices—and if you’re someone who enjoys careful work. If you’re the type who likes to learn a skill for the experience, not just the outcome, you’ll likely feel satisfied at the end of the day.
Before you go, do two simple things: bring a plan for snacks or lunch and get to the meeting point a bit early. That’s how you make the day feel smooth.
FAQ
How long is the Bali Leather Craft Workshop?
It runs for approximately 6 hours.
Where does the workshop start and end?
It starts at Kaula Bali – Leather Workshop (Gg. Yogya, Kerobokan Kaja, Kec. Kuta Utara, Kabupaten Badung, Bali 80361) and ends back at the same meeting point.
What does the workshop cost?
The price is $46.
What can I make in the workshop?
You can create a small leather item such as a wallet, purse, belt, or a set of jewelry. Examples from the workshop process include wallets and purses.
Is this a private activity?
Yes. It’s a private tour/activity, and only your group participates.
Can I get a refund if I change my mind?
Yes, you can cancel for a full refund up to 24 hours before the experience starts. If you cancel less than 24 hours before, the amount paid is not refunded.
More Tour Reviews





More Canggu Tours





More Seminyak Tours
Seminyak Tours: how the alternatives stack up
 ★ 5.0
★ 5.0Bali Full-Day Traditional Village Sightseeing Trip All Inclusive
 ★ 5.0
★ 5.0Experts Bali Driver : Best Bali Private Driver for Tour in Bali



The lists this tour appears in