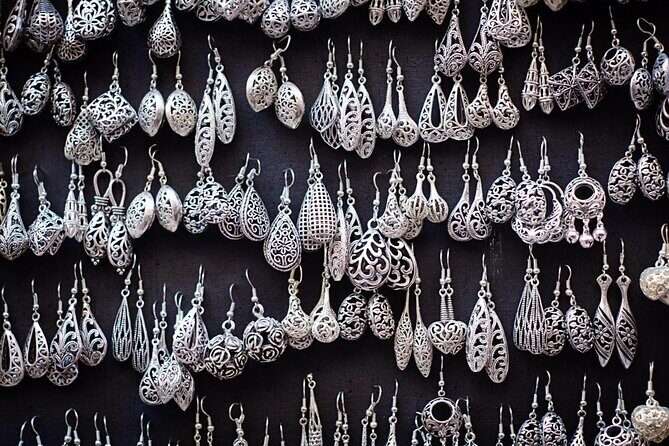
Make silver jewelry feel possible fast. This Uluwatu-area workshop guides you through creating silver jewelry from scratch, with you making the decisions and doing the hands-on steps. I love the hands-on pace from design to finishing, and I love that you take home your own silver piece (about 1–5 grams depending on your design).
There’s also a very Bali-friendly payoff: you can pair it with an afternoon near Uluwatu beaches or a sunset plan around the Uluwatu area shows. The main thing to consider is language. One instructor’s English can be limited, so if you want specific details, come with a simple plan in mind and be ready for teamwork and gestures.
Key Things I’d Put on Your Must-Do List
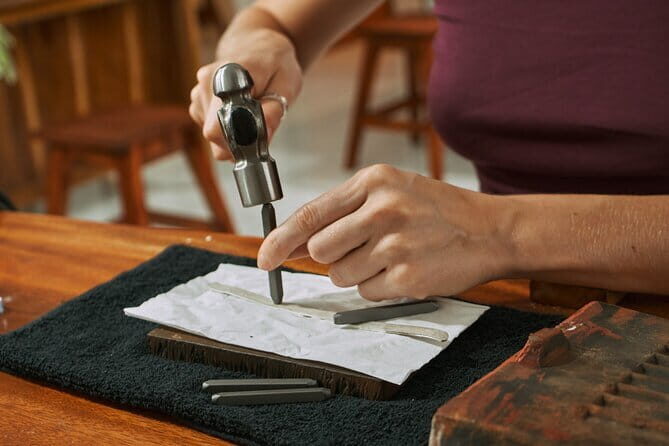
- Design-first process: you start by choosing your design, not by being handed a preset template
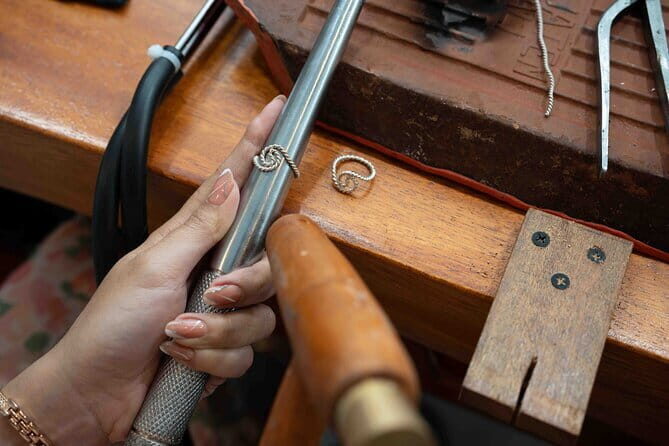
- You’ll work through the real stages: melting silver grains, forming wire or plate, shaping, soldering, sanding, polishing
- Your piece is yours: one participant makes one jewelry piece, and you can’t share silver with another person
- Silver weight is part of the deal: you take home 1–5 grams (final weight depends on the design)
- Extra costs are optional but clear: gemstones add IDR 100K–500K, and going over 5 grams costs IDR 100,000 per extra gram
- Private, small-group feel: only your group participates, so you’re not stuck competing for attention
What You Make and What You Take Home for $45.82
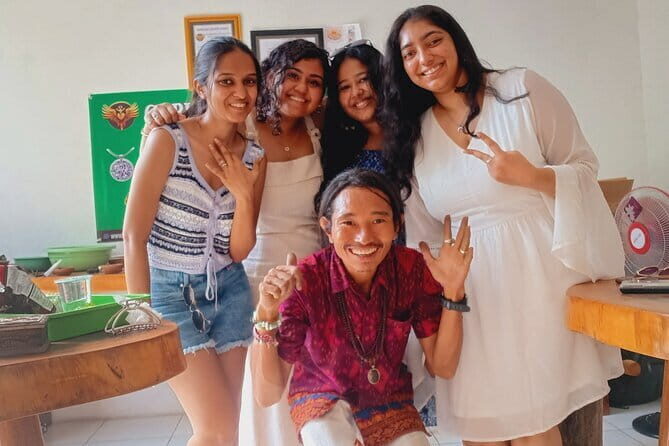
At about $45.82 per person, this is one of those Bali activities where the price mostly goes to two things you can actually hold later: guided time with silversmiths and the silver itself. You’re not paying for a photo moment. You’re paying to go from raw silver grains to a finished piece you can wear or gift.
Here’s the practical core of the value:
- You take home real silver: the included take-home amount is 1–5 grams, depending on what you design
- Final weight can vary: heavier or more complex designs may land closer to the higher end of that range
- If your piece uses less than 5 grams, it’s still treated as 5 grams for usage accounting: meaning you shouldn’t expect to be able to stretch beyond the allotted silver expectations by choosing a tiny design and then adding more later
You also get small comforts that matter when you’re standing and working for a while:
- snack and mineral water are included
- free Wi‑Fi is included
- it’s a mobile ticket, which saves time if you’re juggling beaches and buses
The takeaway
If you like souvenirs that are personal and not mass-produced, this is a solid use of time. The only reason it won’t feel like a win is if you’re expecting a full custom jewelry service with unlimited materials. This workshop is built around making one included piece, then letting you refine it in the time you have.
The Workshop Flow: Design Choice, Melting Silver, Shaping, and Polish
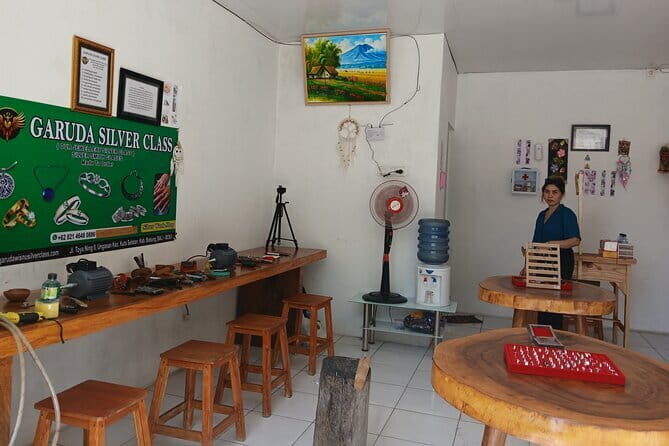
Think of this class as a guided “maker’s route.” It’s not just one trick demo. The session is structured to walk you through each major step of turning silver into jewelry.
The flow typically runs 1.5 to 3 hours (and that time window is what you’re really buying). Your exact timing depends on your design and how quickly you move through each stage.
1) Choose your design
You start by selecting a design. This is important because the workshop later makes decisions for you about what’s practical to form and finish within the included silver weight. If you want a piece that feels like you, decide early on a shape style you can clearly describe or show.
2) Materials and tools basics
Next you get an intro to the materials and tools. Even with limited shared language, this part helps you understand what the team expects from you during the hands-on steps. It also makes the later stages less mysterious—especially the stages with heat and metal-forming.
3) Melting silver grains
You move into melting silver grains. In a good workshop setup, this is one of the moments that feels like actual transformation: the raw becomes a workable metal. The guidance matters here because you’re not doing this as a trained silversmith; you’re learning the workflow while the studio keeps things moving safely and efficiently.
4) Form wire or plate
After melting, you’ll form silver into something you can work with—either wire or plate. This choice affects how your final piece looks and how it can be shaped. Wire styles often lend themselves to rings, bracelets, or banded looks. Plate-based looks tend to guide your shaping and soldering choices differently.
5) Shape and build the form
Then you shape the jewelry. This is where the class shifts from technical steps to personal style. Even if your design is simple, shaping is how your piece starts to look like jewelry instead of a metal experiment.
6) Soldering
Soldering is the step that helps pieces hold together. It’s also where you’ll likely feel the difference between a nice concept and a wearable result. The studio guidance is what turns your metal parts into a single solid piece.
7) Sanding and polishing
Finally comes sanding and polishing. This is where the workshop earns its keep. Polishing can make a huge visual difference, turning rough metal into something that looks finished and intentional.
What you should expect at the end
By the end of your session, you should walk away with a finished piece of your own design made in the class. Each participant can make only one jewelry piece, and that piece is directly yours.
A Bali Day Plan: Timing Around Uluwatu Beaches and the Kecak Sunset
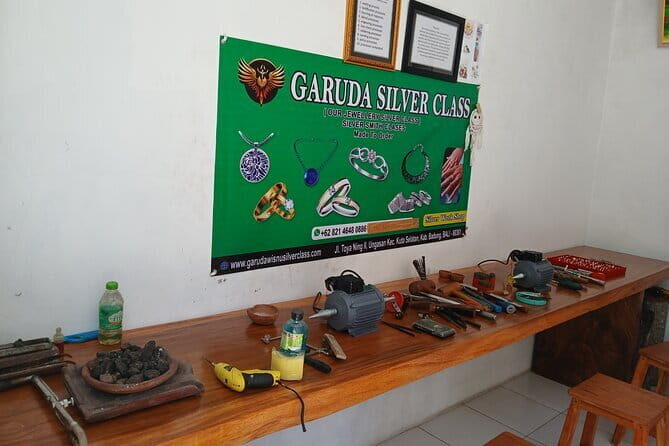
The meeting point is at Garuda Silver Class, Jl. Toya Ning II, Ungasan, Kec. Kuta Sel., Kabupaten Badung, Bali 80361. The activity ends back at the meeting point, so you’re not signing up for a long circuit.
The workshop’s location is one of its sneaky advantages. It’s close to a cluster of well-known Uluwatu-area spots. The info provided lists proximity to:
- Balangan Beach
- Melasti Beach
- Pandawa Beach
- Nyang-Nyang Beach
- Uluwatu Beach
It’s also close to the Garuda Wisnu Kencana Culture Park, plus the Kecak Dance performance at Uluwatu during sunset.
How I’d schedule it
- If you love beaches: do the workshop earlier, then head to the water for a calmer post-class vibe.
- If you love culture at sunset: pick a session that gives you time to get to Uluwatu for the Kecak timing.
Transportation reality check
The class is near public transportation, but the listing also says shuttle is not included. That means you’ll want to plan your own ride or route. If you’re pairing it with beach stops, build in extra time for traffic, not just for the workshop.
Costs and Limits That Can Catch You Off Guard

This is where you’ll feel the most difference between “fun class” and “final bill.” The base price includes materials and tools, but some upgrades and extra metal use can change the total.
What’s included
- all necessary materials and tools
- snack and mineral water
- free Wi‑Fi
- take home 1–5 grams of silver (final weight depends on the design)
- your design and the piece you make is yours
- one piece per participant
What is not included (and how it’s charged)
- Gemstones cost extra: from IDR 100K to 500K, depending on type and size
- Overweight silver fee: if you go beyond the 5 gram limit, there’s an additional IDR 100,000 per gram
- No sharing silver: you can’t share silver with another person
- No shuttle: you’ll handle transportation
The one detail that’s easy to misread
“If your silver jewelry less than 5 grams, the usage will still be accounted for as 5 grams.”
What this suggests in practice is that the included silver allowance is treated as a minimum accounting amount of 5 grams. So even if your design ends up using less, you shouldn’t assume you’ll get a free way to add extra silver beyond the stated limit.
Language and expectations
One review noted limited English from an instructor, even though the team was friendly. So: if you have a very specific design idea, bring it as a clear sketch or a simple visual reference. Keep it simple enough that the workshop can translate it into something workable in the time you have.
Who This Private Silver Class Fits Best
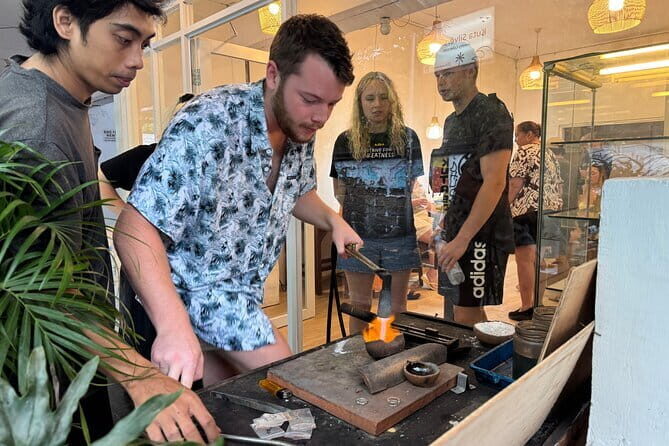
This is a good fit for people who:
- want a hands-on craft where you make the final product
- like meaningful souvenirs you can actually wear
- prefer a private setup where only your group participates
- are comfortable spending up to about 3 hours focused on one project
It’s also family-friendly in the sense that the class is structured for novices—experienced silversmiths guide each step, including the stages that sound technical on paper.
Who might not love it
Skip or rethink if:
- you’re hoping to make multiple pieces in one session (the class allows one piece per participant)
- you expect shuttle service included
- you need very precise design execution and you don’t want to communicate with help from gestures or simpler explanations
Getting the Most Out of Your Session (Bring Ideas, Not Complex Plans)

You’ll get better results when your design is realistic for a workshop timeline. A few practical tips based on how these classes are usually run and on what’s stated:
- Plan for a single finished piece. Don’t treat it like a buffet where you try five concepts
- Decide whether you want a basic silver-only design or you’re open to optional gemstones (IDR 100K–500K range)
- If you’re aiming to stay within the intended silver amount, keep your design within what feels compact and wearable
- Bring your expectations down to the time reality: you’re going through design, melting, forming, shaping, soldering, sanding, and polishing in one sitting
Also, since language can vary, keep a backup plan: a design that’s easy to describe even without perfect shared wording.
Should You Book the Uluwatu Silver Class?
Book it if you want a Bali souvenir that’s personal and made through a full process, not a quick demo. At $45.82, with materials, tools, snack, mineral water, and free Wi‑Fi included—and with you taking home 1–5 grams of silver—the value is strong if you’re the type who likes crafts and tangible keepsakes.
Don’t book if you:
- want a shuttle-included package
- plan to exceed the 5 gram silver limit
- want multiple pieces in one trip
- need extremely detailed design work with lots of back-and-forth in a specific language
One last point: you can cancel for a full refund if you cancel at least 24 hours before the experience start time. That gives you flexibility if your Bali schedule shifts.
FAQ
How long is the Uluwatu Silver Class?
The class runs about 1.5 hours to 3 hours, and the tour summary notes a duration of approximately 3 hours.
What’s included in the price?
Included are all necessary materials and tools, a snack, mineral water, and free Wi‑Fi. You also take home your silver jewelry (starting from 1–5 grams, depending on your design).
Can I make more than one piece during the class?
No. Each participant can make only one silver jewelry piece.
Are gemstones included?
Gemstones are not included. If you want them, there’s an additional charge of IDR 100K to 500K, depending on the type and size.
Is there a shuttle from nearby areas?
No. Shuttle is not included, so you’ll need to arrange your own transport.
Where does the class start, and where does it end?
It starts at Garuda Silver Class, Jl. Toya Ning II, Ungasan and ends back at the same meeting point.