Quiet water changes everything. This 3-day Freediving Level 1 course in Nusa Penida gives you a calm, structured way to learn breath control and descend safely, from pool practice to open ocean sessions. You also get take-home underwater photos, so you’re not leaving with only new skills—you’re leaving with proof.
Two things I really like: the small max 4 students per instructor setup (you get real attention), and the fact that you don’t need to shop for specialized gear because the essentials are included. One potential drawback to plan for: lunch and private transport aren’t included, so you’ll want to budget and coordinate those on your own.
If you can swim and you’re okay with a full day of training (8:30 to 16:30, with a lunch break), this course is a practical on-ramp to the silent underwater world—without pretending it’s magic.
Key things that make this course worth your time
- Max 4:1 instructor attention helps you progress faster and correct mistakes in real time
- Pool + ocean progression so you build comfort first, then apply it outside
- Most students reach 15–20 meters (about 50–65 feet) on one breath by the end
- Breath hold over 2 minutes is a common end goal for beginners
- All freediving equipment included, which cuts hassle and extra spending
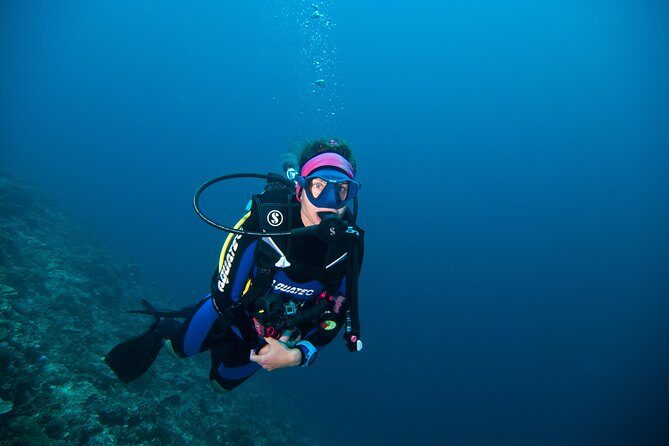
- Underwater photo take-home turns your practice into a memory you can keep
Freediving Level 1 in Nusa Penida: what you’re really signing up for
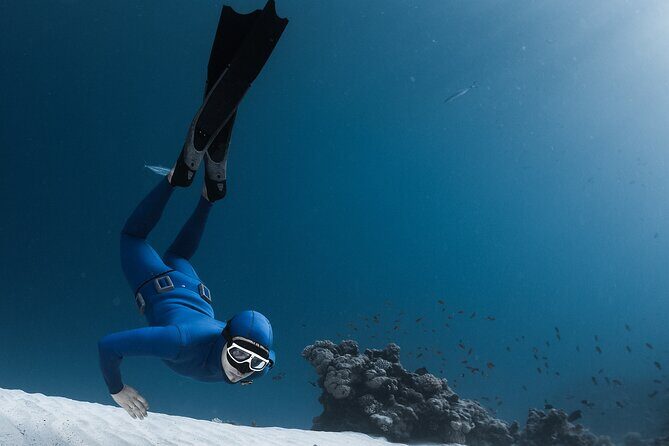
This course is designed for an important first step: learning how to free dive safely, slowly, and with repeatable technique. The goal isn’t to impress anyone on day one. It’s to teach you a process: control your breathing, manage your comfort in the water, and learn how to descend on one breath while staying calm.
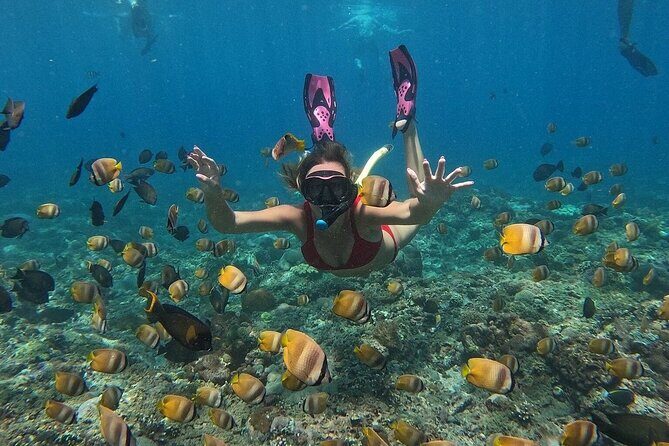
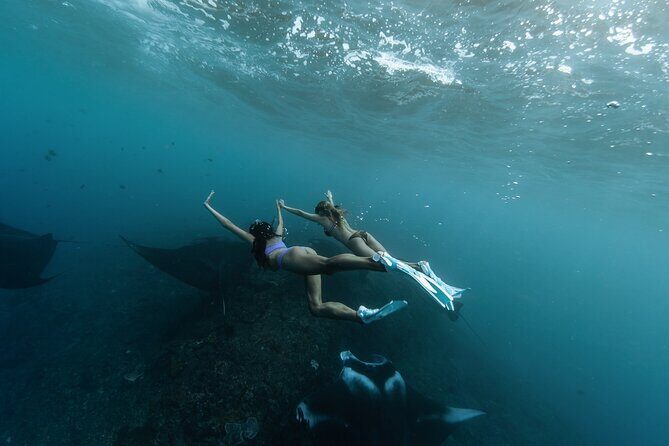
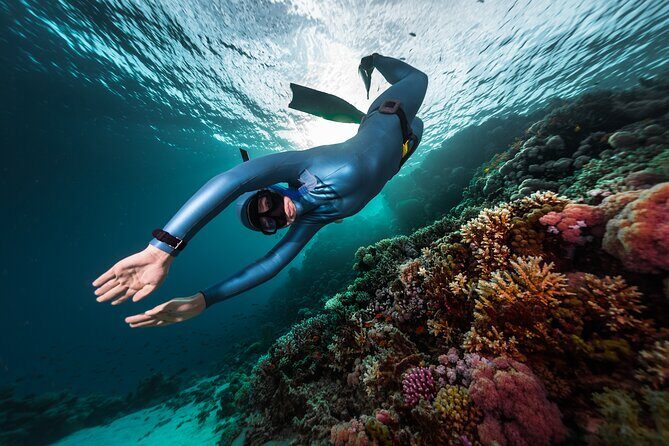
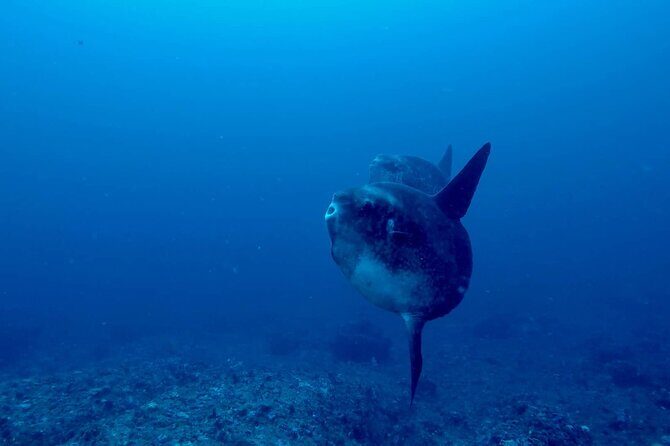
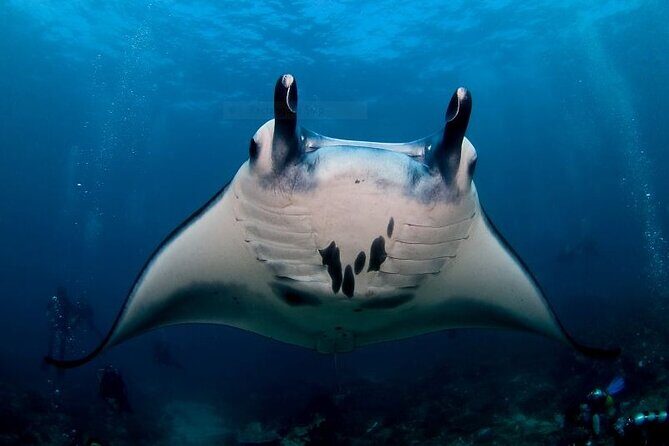
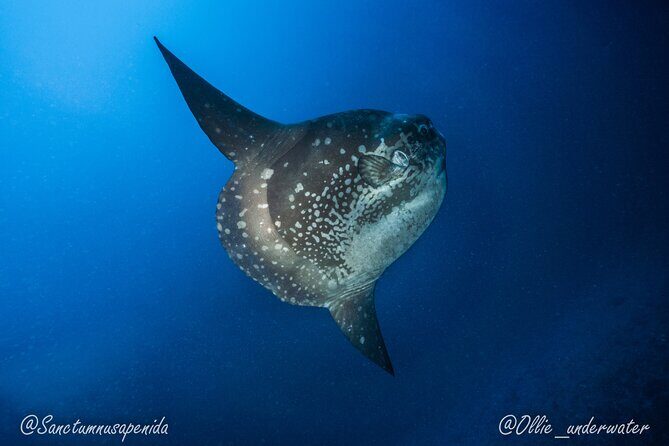
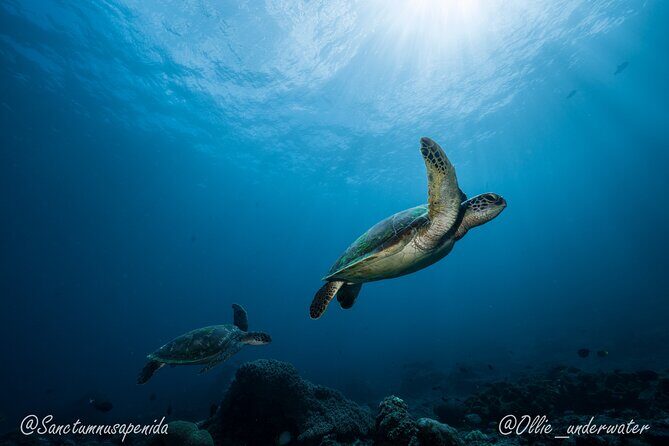
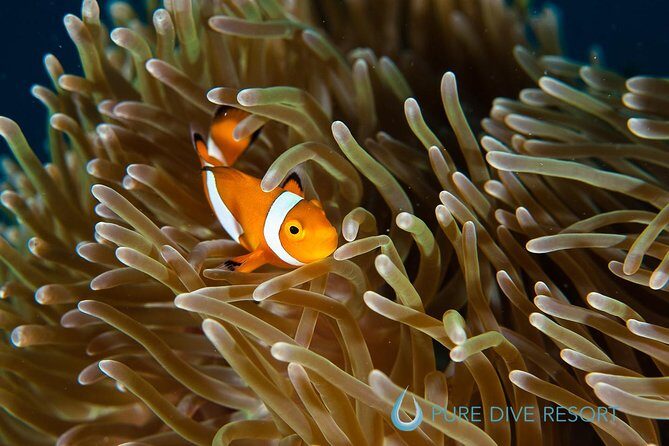
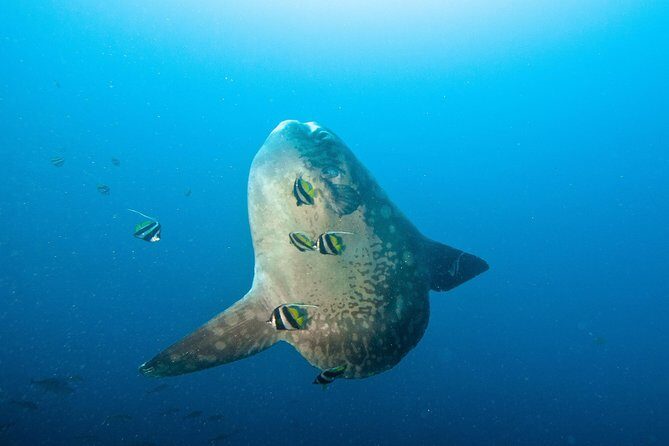
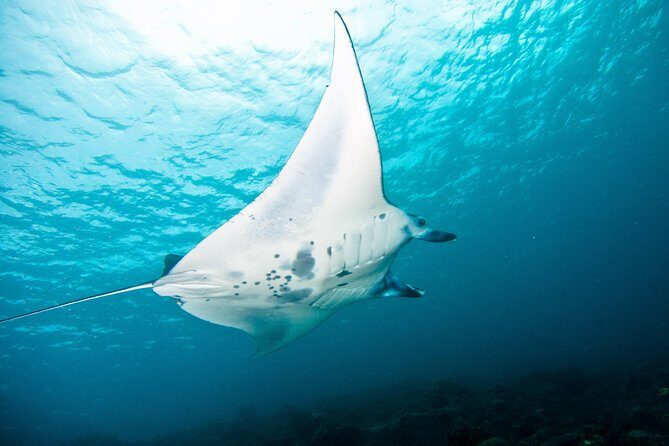
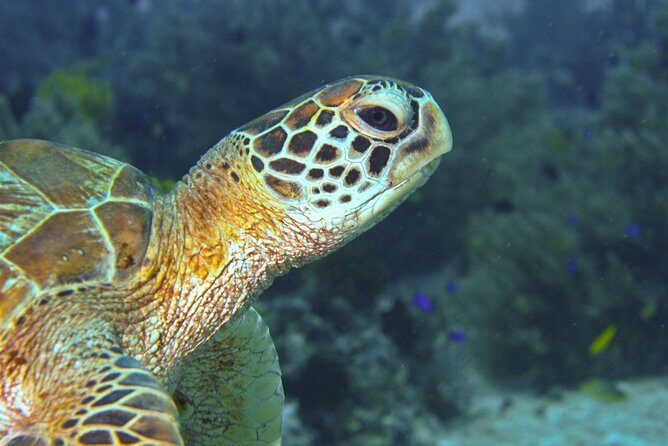
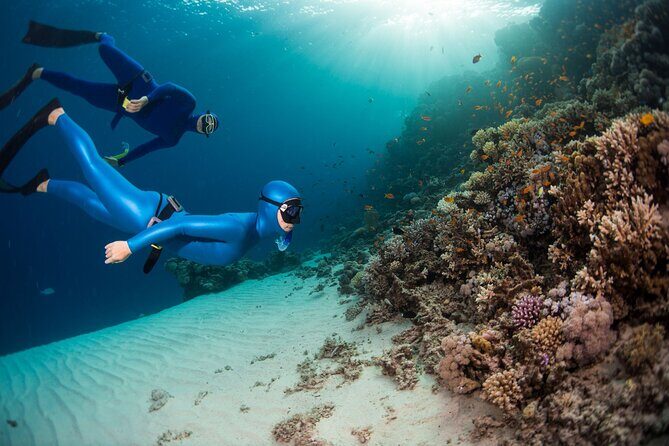
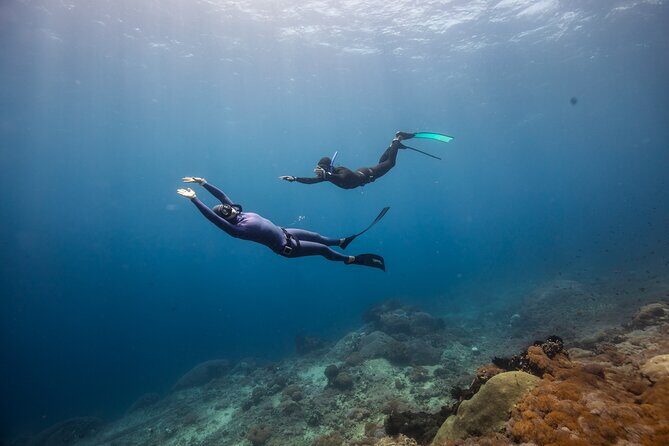
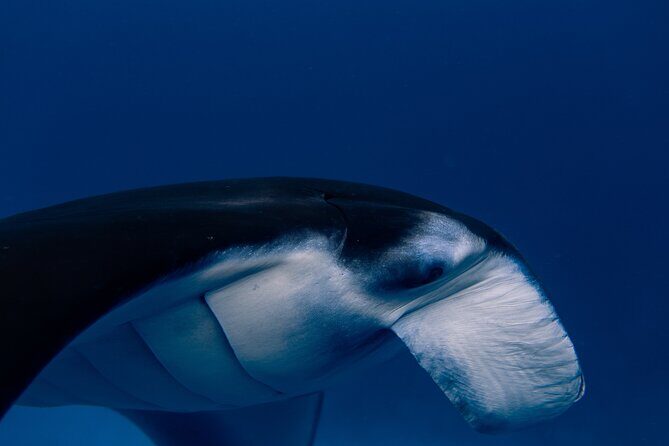
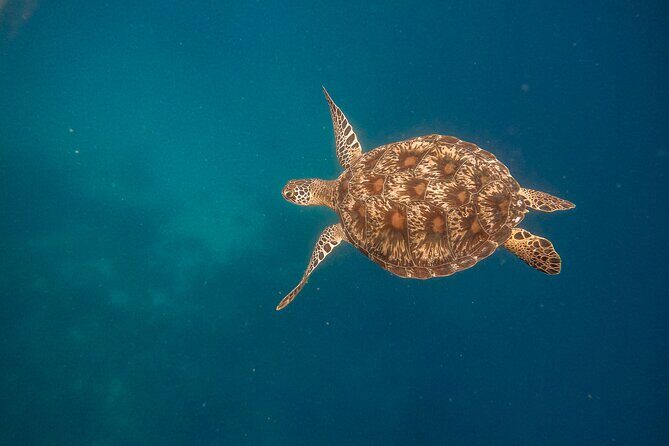
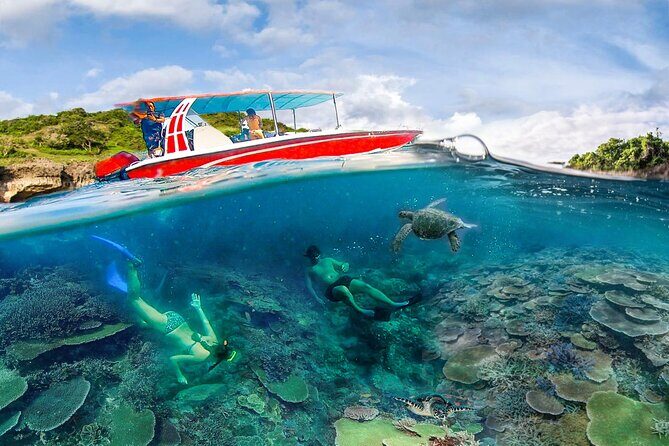
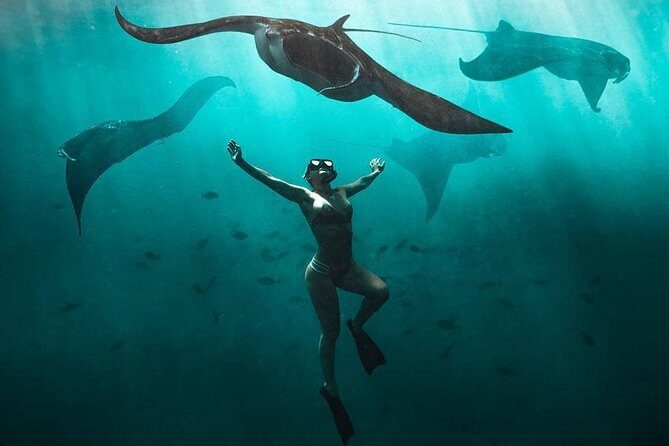
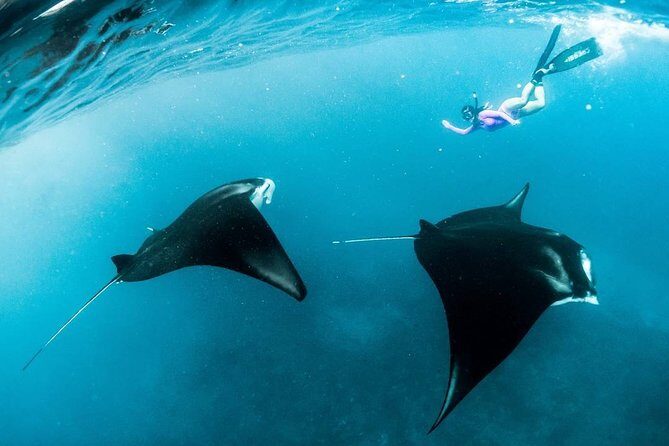
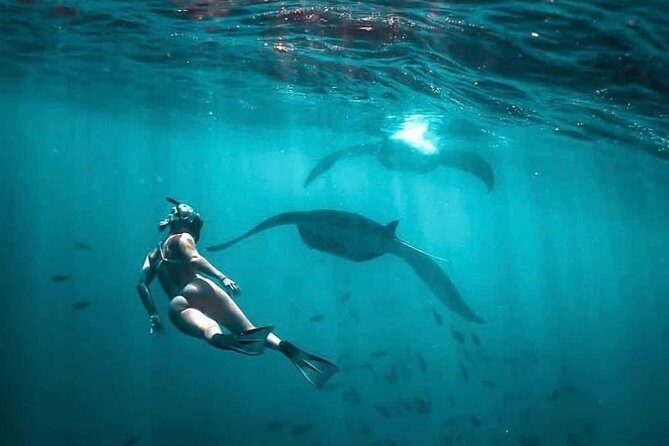
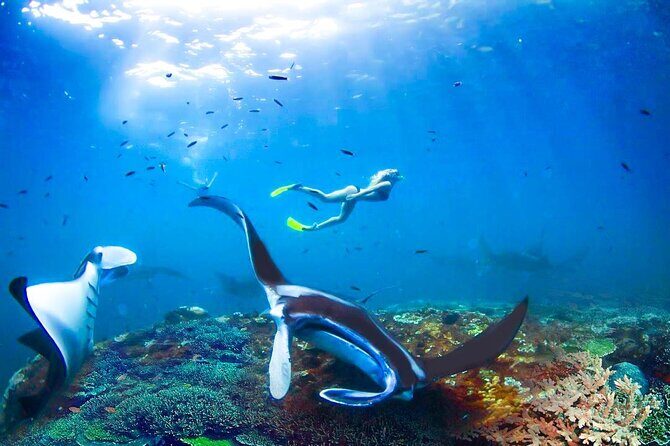
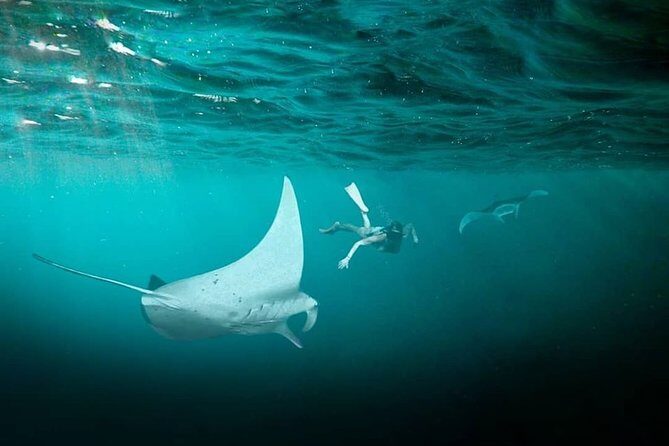
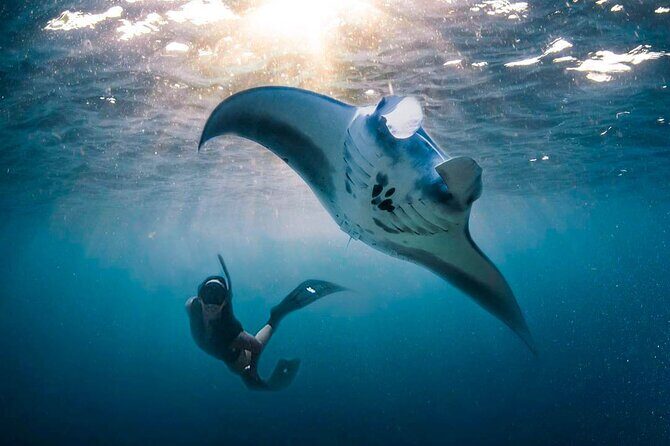
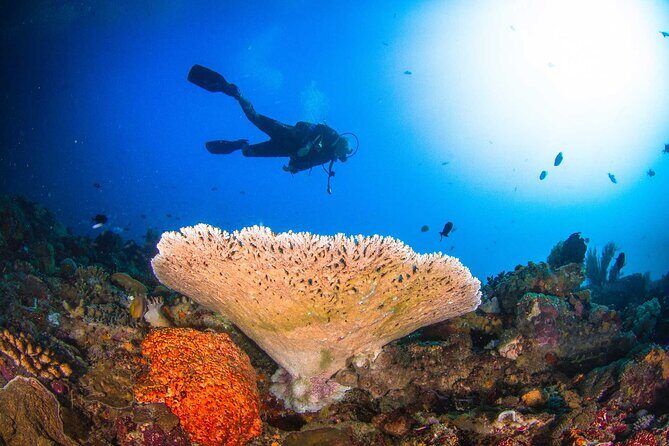
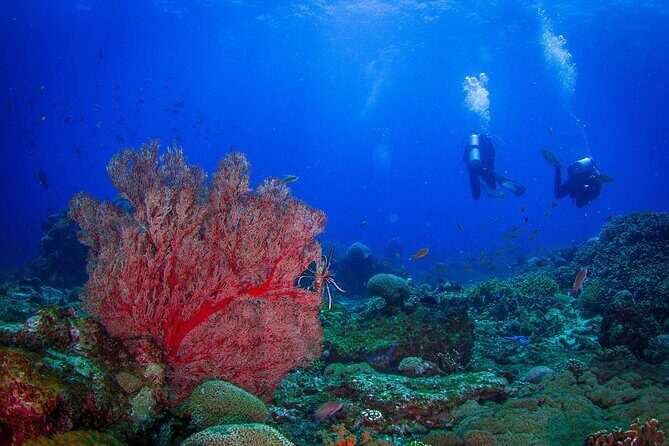
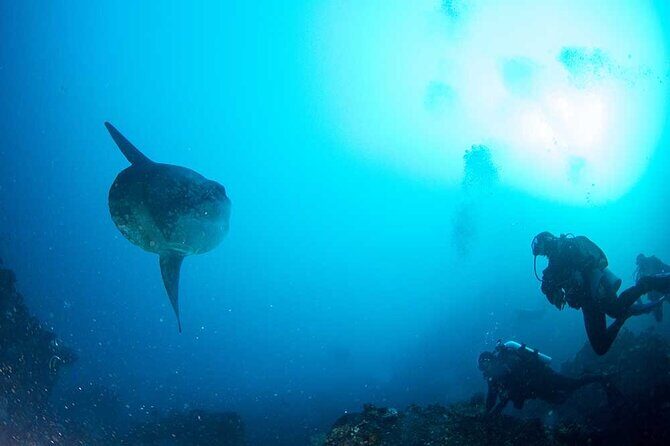
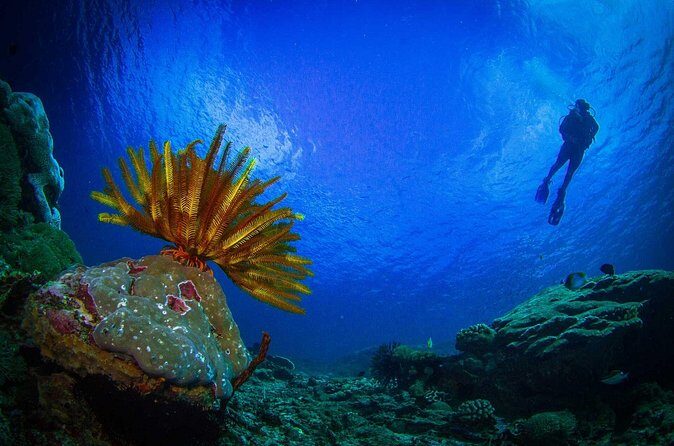
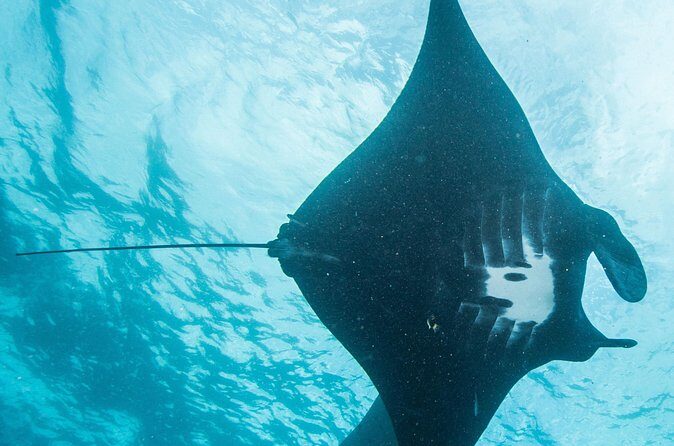
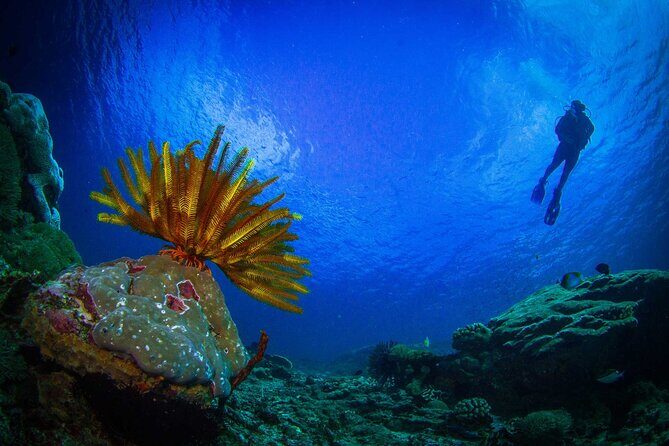
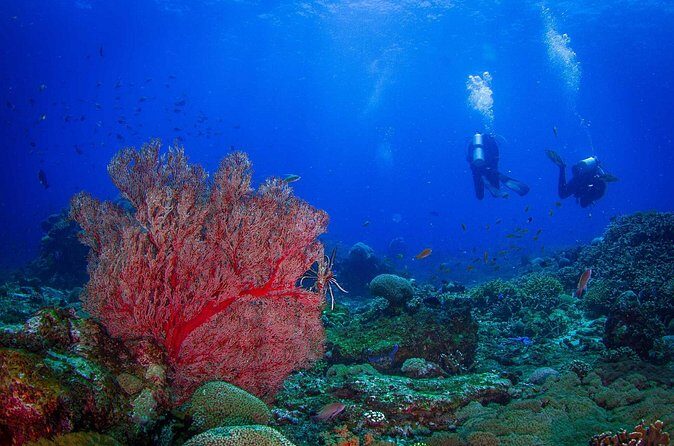
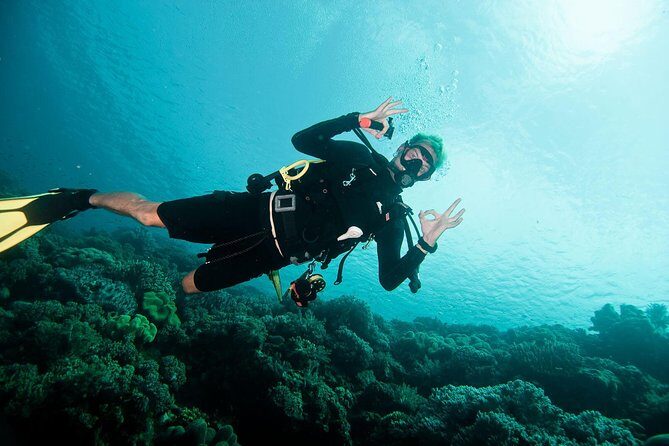
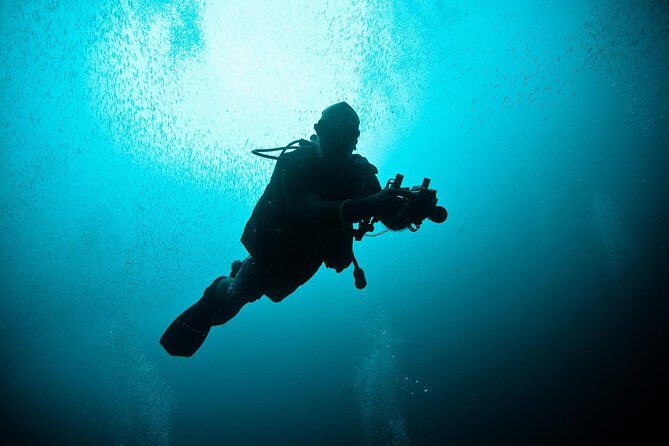
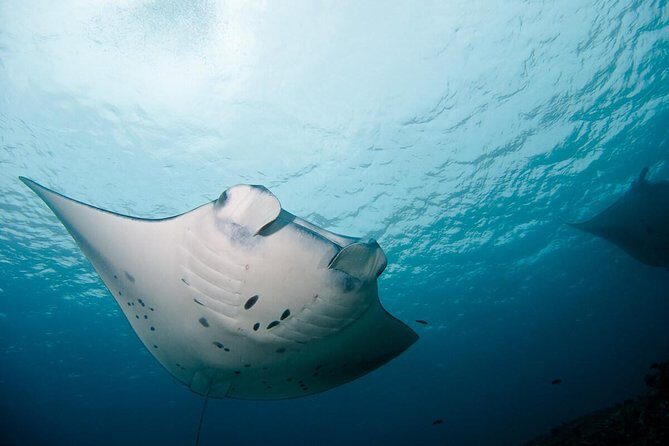
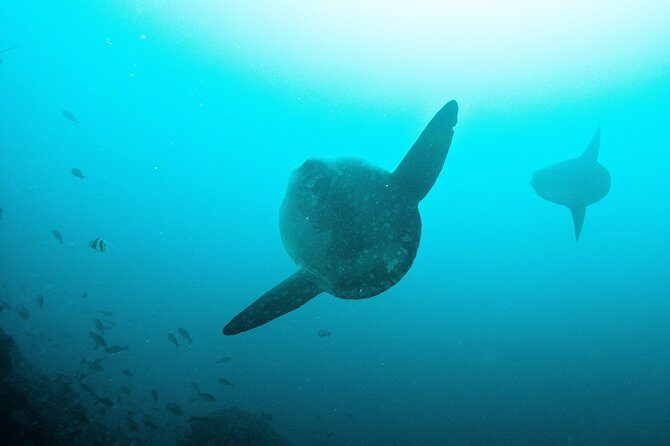
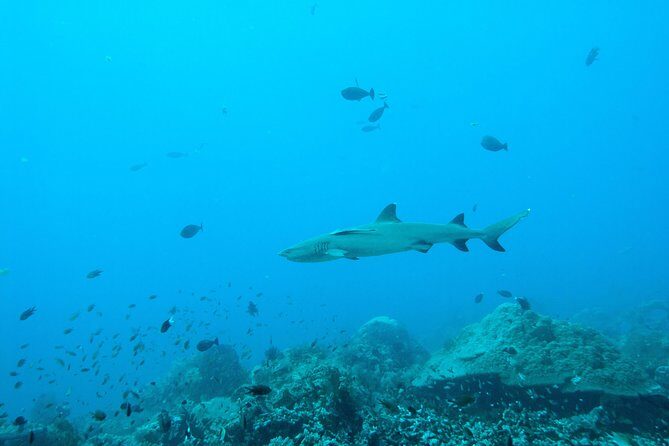
What makes Nusa Penida a smart choice is the underwater setting. You’re learning next to coral and tropical fish, which gives your practice a real reward. It’s easier to stay motivated when you’re not just working drills in a blank pool environment. Even the photo promise matters here, because you can compare how you look and move as your comfort improves.
You’ll also notice the tone of the training. The course is welcoming even if you’ve never done water activities before. One clear theme in the instructor experience is supportive teaching—people often arrive afraid of being without breathing, then get used to the feeling gradually. That approach matters because freediving is as much about mental control as it is about the mechanics.
The learning format: 3 days, 8:30–16:30, theory to practice
Over the three days, the schedule runs 8:30 to 16:30, including a lunch break. That’s a full training block. You’re not just doing water time—you’re also doing land-based theory and drills so the underwater work has a reason behind it.
You can expect three kinds of learning to show up:
- Theory sessions on land (so you understand what you’re doing and why)
- Confined water sessions (2 total) to practice skills in a controlled environment
- Open ocean sessions (3 total) to apply those skills in real water conditions
This structure is valuable for beginners because it prevents the classic mistake: rushing straight to open water without building comfort first. Confined water lets you focus on safety and technique while your body learns the rhythm. Then open ocean teaches you how to use that same rhythm when conditions are less controlled.
One more practical note: the course says lunch isn’t included. You’ll have a break, but you’ll need to plan how you’ll eat during it. If you’re the type who gets cranky when hungry, bring that personality awareness.
Nusa Penida training: where the course puts your skills to work
Your base location is Nusa Penida, with the meeting point at the Freedive Nusa freediving school on Jl. Ped – Buyuk, Desa, Ped, Kec. Nusa Penida. The activity ends back at the meeting point, which makes the logistics simpler at the end of your long training days.
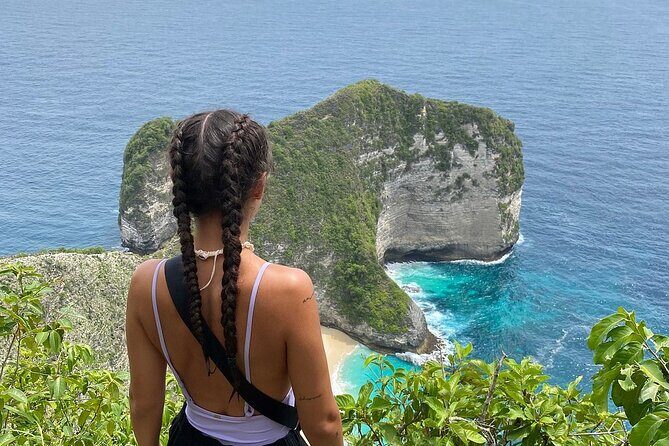
Why this location setup is useful: you’re learning in one island area, so you’re not bouncing around Bali every day. The underwater rewards—coral and tropical fish—are also close enough to make each ocean session feel different, not repetitive.
Possible challenge: since private transportation isn’t included, you’ll need to think about getting to and from the meeting point and how you’ll handle any transfers connected to the sessions. The course itself provides everything underwater, but it doesn’t remove every surface-level planning task.
Small groups and careful coaching (the max 4-per-instructor advantage)
This course is built around safety and fast learning, and the teaching ratio is a big part of that. You’re limited to a maximum of four students per instructor. That matters more than people expect.
When the group is small:
- Your instructor can watch your breathing and body position in detail
- You can get corrections sooner (not the next day)
- You don’t spend half your time waiting while others practice
Instructors named in past courses include Sabli, Artem, Roberto, Seva, Hamza, Gaston, Chiara, and Kirill. Across those experiences, a consistent theme shows up: clear instruction, patience with nervous first-timers, and enough encouragement to keep you pushing in the right direction without feeling rushed.
If you’re the type who learns best with direct feedback, this course’s group size is a real plus.
What you’ll learn and what “success” looks like for beginners
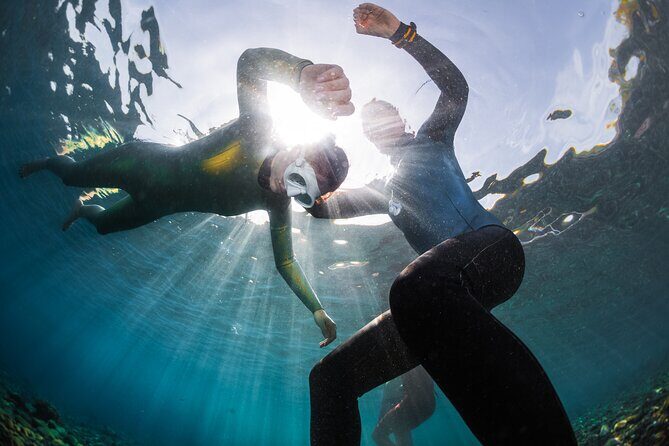
The course aims to get most students to two key outcomes by the end:
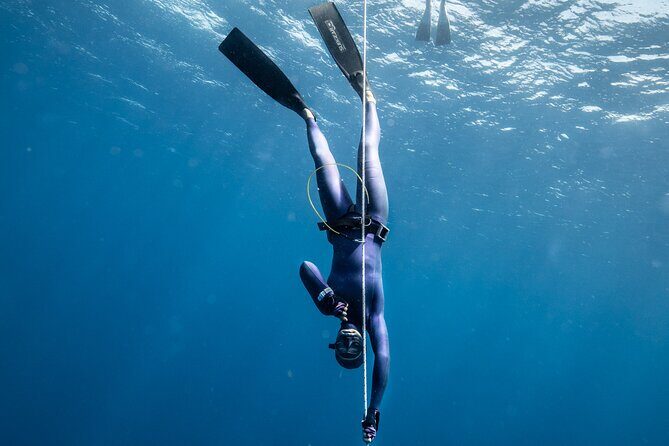
- Descend to about 15–20 meters (roughly 50–65 feet) on a single breath
- Hold your breath more than 2 minutes
Those are strong numbers for a beginner course. But more important than the numbers is the way you get there: in controlled steps.
You start with breath training and comfort building, then you practice in confined water, and later you apply it in open ocean. That progression makes the course feel achievable, not scary.
You should also know what the course expects from you physically. It requests a moderate physical fitness level, and it says there’s no previous experience required. The only clear requirement is that you can swim. So if you’re comfortable in the water but new to underwater breathing techniques, you’re the target.
Equipment, photos, and certification: what’s included (and why it’s good value)
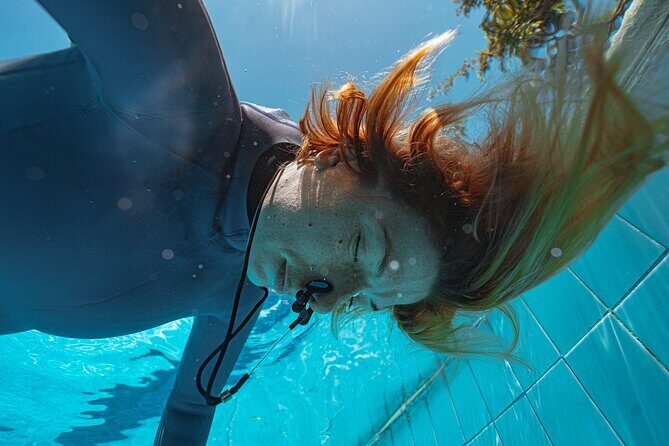
The included items are one of the biggest reasons this course is good value.
What you get:
- Freediving equipment use
- Freediving certification
- Digital learning materials
- All fees and taxes
- Underwater photos of yourself during the experience
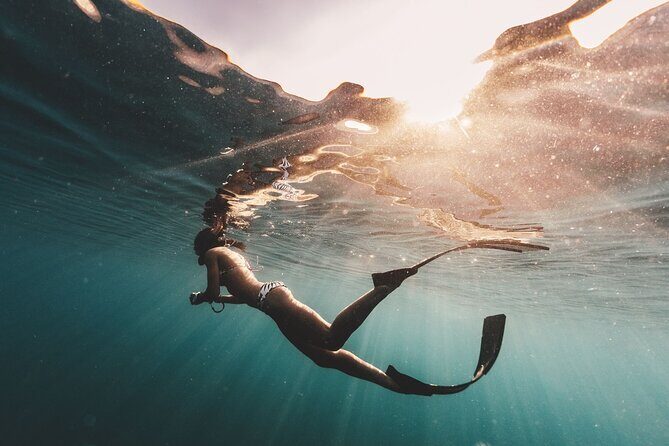
That photo piece isn’t just a nice bonus. For beginners, it helps you connect what you felt with what you actually did. Over three days, your body position and calmness typically improve. Having images to compare is useful, especially if you plan to keep practicing after the course.
Also, the course notes that you don’t need to buy anything special—the essentials are included. That saves time and avoids a common beginner headache: buying gear you don’t yet know how to fit or use.
The certification matters because it gives you a formal step to build on. If you’re thinking about going further after Level 1, getting certified here is the clean path forward.
Price and value: is $450 fair for three days?
The price is $450 per person for the 3-day course.
At first glance, that’s not “cheap.” But when you compare it to what’s included, it becomes more reasonable:
- Equipment use is included
- Certification is included
- Taxes and fees are included
- You’re getting both confined-water training and multiple open ocean sessions
- You’re also getting digital learning materials and take-home underwater photos
The biggest value driver is the instruction time per student. With a max of four per instructor, you’re paying for higher attention, not just access to a basic activity. That typically leads to faster correction and faster confidence.
Two costs to keep in mind because they’re not included:
- Private transportation
- Accommodation and lunch
So if you’re staying somewhere far from the meeting point or you’ll need daily transfers, your real total budget will rise. But if you already have those covered, $450 looks like a solid deal for a structured skill course—not just a one-time outing.
What it feels like in the water (based on the teaching approach)
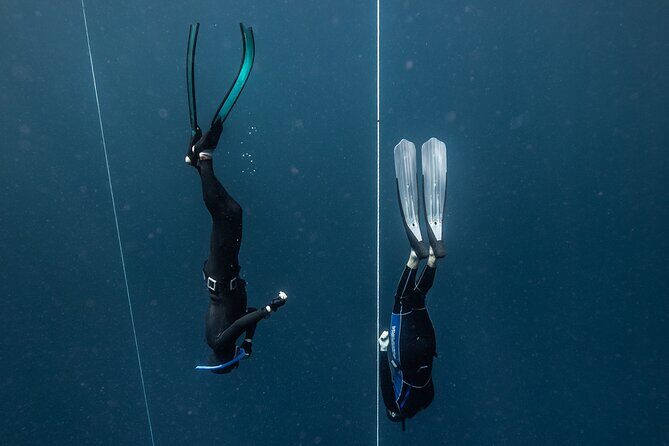
Freediving Level 1 often starts with a mental hurdle: being in the water without breathing right away. Many beginners are afraid at first, then learn to handle that fear with gradual exposure.
The course is described as a smooth and measured introduction to a silent underwater world. That “measured” word is important. It means you’re not thrown into the deep end of the experience—physically or psychologically. The instructors you’ll see referenced—people like Artem, Roberto, and Hamza—are repeatedly linked with supportive, careful guidance.
You can expect coaching that focuses on technique and comfort. The goal isn’t to punish you for being new. It’s to help you feel safe while you build the skill to descend and hold your breath longer.
How to prepare so day 1 doesn’t feel harder than it should
The course is beginner-friendly, but you’ll get more out of it if you come prepared.
Here’s what you can do based on the explicit requirements:
- Bring swimming confidence. You only need to swim, but feel comfortable floating and moving in the water.
- Plan for a moderate fitness level. The schedule is full and physical training is part of it.
- Treat lunch like a real factor. Lunch isn’t included, so plan what you’ll eat during the break so your energy stays stable.
- Arrive ready to learn. The best improvement comes when you follow instructions and focus on the repetition.
If you’ve got a nervous temperament, that’s not a deal-breaker. The course’s approach is built around gradual adaptation, and small group coaching helps with confidence.
Should you book this 3-Day Freediving Level 1 course?
Book it if:
- You want a structured beginner course with clear progression from theory to confined water to open ocean
- You like the idea of small group coaching (max 4 per instructor) rather than being one face in a big class
- You care about learning safety and technique, not just a scenic underwater moment
- You want to leave with certification and underwater photos
Skip it or reconsider if:
- You don’t want to handle extra basics like lunch and transport planning
- You’re not ready for a full 8:30–16:30 training block for three days
- You’re looking for something casual and unsupervised
For most first-timers who can swim and want real instruction, this course looks like a strong value. It’s the kind of training that helps you keep improving after you leave, because you get the tools and the feedback loop—not just time in the water.
FAQ
Do I need prior freediving experience?
No previous experience is required. You just need to be able to swim, and the course welcomes first-timers.
What’s included in the $450 price?
The price includes use of freediving equipment, all fees and taxes, freediving certification, and digital learning materials. Underwater photo take-home is part of the experience.
How long is the course and what are the daily hours?
The course runs for 3 days, with training from 8:30 AM to 4:30 PM each day, including a lunch break.
How many students are there per instructor?
The course limits groups to a maximum of four students per instructor.
Does the course include lunch or transportation?
No. Private transportation and accommodation are not included, and lunch is not included either.
Where does the training start and end?
You meet at Freedive Nusa – Freediving School in Nusa Penida, and the activity ends back at the same meeting point.
If you want, tell me your swim comfort level and whether you’re going solo or with a friend, and I’ll help you sanity-check whether Level 1 is the right starting point for your goals.

.jpg)
.jpg)
.jpg)
.jpg)
.jpg)
.jpg)
.jpg)
.jpg)

.jpg)
.jpg)
.jpg)
.jpg)
.jpg)
.jpg)
.jpg)
.jpg)

.jpg)
.jpg)
.jpg)
.jpg)
.jpg)
.jpg)
.jpg)
.jpg)

.jpg)
.jpg)
.jpg)
.jpg)
.jpg)
.jpg)
.jpg)
.jpg)

.jpg)
.jpg)
.jpg)
.jpg)
.jpg)
.jpg)
.jpg)
.jpg)