Maboya Canyon turns Bali into an action movie. This intermediate canyoning trip in north Bali mixes jumps, slides, and rappels with a guided day that’s built around safety training, not guesswork. I especially like the small group size (max 8) and the fact that your instructor teaches you how to use the lanyard (safety rope) before you start going down.
The main thing to consider is physical effort. The day is about 11 hours, and you’ll do an approach hike, wear wetsuit gear all day, and then hike back out after the descent, so plan for a moderate fitness level and solid stamina.
Key highlights you’ll actually care about
- Hotel pickup anywhere in Bali means no self-drive stress or hunting for a meeting point
- Max 8 people keeps the day calmer and makes it easier for your guide to watch what you’re doing
- Hands-on training first (lanyard use, abseil basics, and canyon hand signals) so you’re not thrown in blind
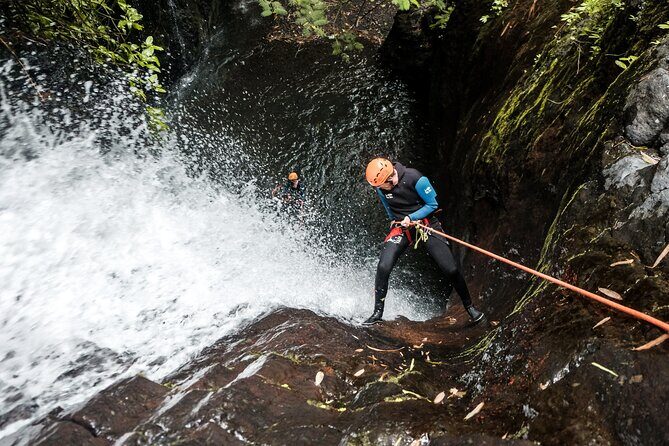
- Real descent fun with multiple slides, jumps, and rappels through Maboya Canyon
- GoPro footage for your device plus two meals, so you leave with content and fuel
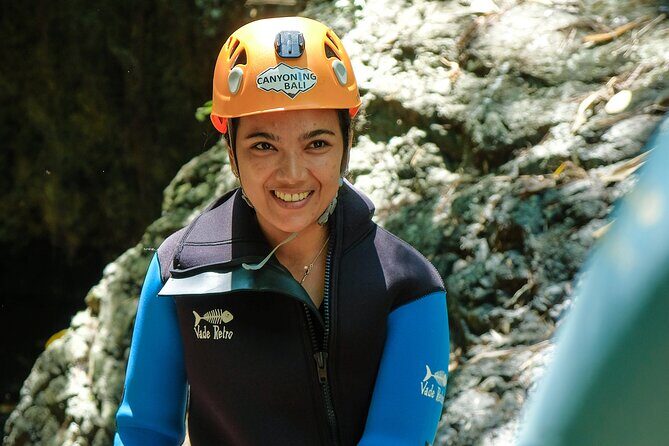
- Insurance included and full canyon gear provided (wetsuit, harness, helmet, canyoning boots)
First: What Maboya Canyon is (and who it fits best)
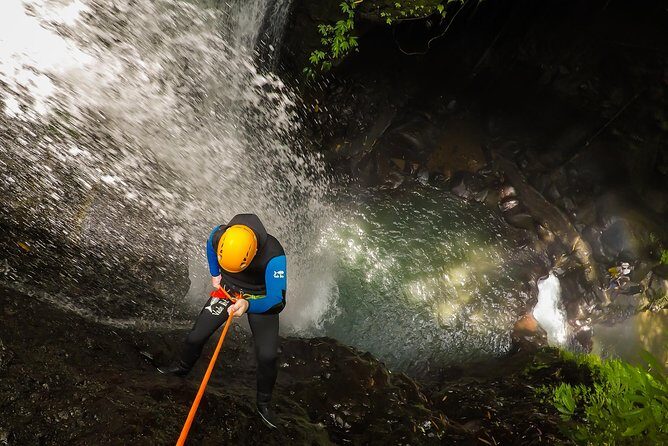
Maboya Canyon is north Bali’s answer to the adrenaline crowd. The vibe isn’t just “walk somewhere pretty.” It’s movement: you hike in, then you go down the canyon using techniques like abseiling (rappelling), plus playful obstacles like slides and jumps. The trip is labeled intermediate, so it’s meant for people who can handle basic canyoning mechanics and don’t panic when things get a little steep and slippery.
What I like is how the day is structured so the fun doesn’t outrun the safety. Your instructor gives a briefing, then you suit up with proper canyon gear, then you practice key safety skills at the start point before the real descent. It’s the kind of approach that helps you feel confident fast.
This one is also ideal if you want the “canyoning in Bali” experience without turning it into logistics homework. You get round-trip transfers from any hotel in Bali, and the schedule is set up around pickup and drop-off rather than you needing to coordinate rides or parking.
If you’re dealing with a serious injury, low mobility, or you know you struggle with hikes, uneven footing, or controlled rappels, you might want a gentler option. But if you’re generally comfortable being active for hours, you’ll be in the right lane.
The all-day schedule: what happens from pickup to drop-off
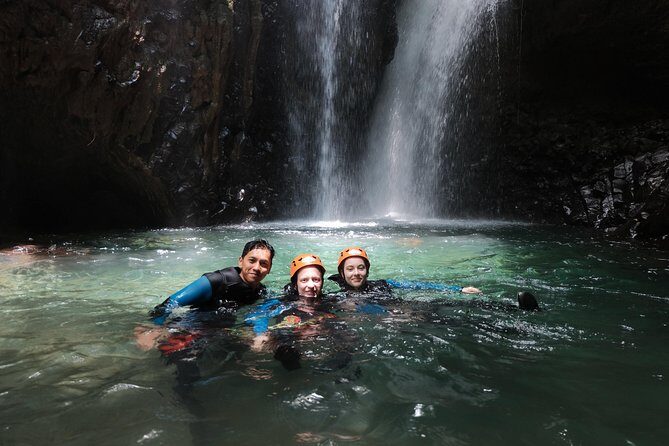
This trip is designed as a full-day outing, roughly 11 hours from hotel pickup to return. Here’s the flow, step by step, and what each step is doing for your experience.
1) Pickup and the Wanagiri base welcome
Your driver picks you up from your accommodation anywhere in Bali. That matters more than it sounds. In a day like this, you want your energy to go into the canyon, not into figuring out roads, meeting points, and timing.
You head to a local base in Wanagiri. There’s a welcome moment, plus a light breakfast with tea or coffee while you get organized. This is a smart start: you’re about to be in wet gear and doing a hike, so having food in your system helps.
2) Gear up with canyon-specific equipment
After the initial welcome, your instructor handles the briefing. Then you suit up with the required canyoning gear:
- wetsuit
- harness
- helmet
- canyoning boots
The tour emphasizes current gear and proper canyon setup. That’s not just comfort. It’s also how you keep the descent more controlled and predictable. The boots in particular are a big deal in wet conditions, since canyon floors don’t behave like sidewalks.
3) The approach hike to the start point (with views)
Then comes the approach hike to the start point. You’ll be walking into the canyon area, building up a sense of the route before you drop in. The best part here is that you don’t just feel transported; you get time to take in the area while you move.
This section also sets expectations. You’ll see the kind of terrain you’ll be dealing with, and you’ll start to understand why training at the start point matters.
4) Safety training: lanyard, abseil, and hand signals
Before you start descending, you get short training at the start point. This is the piece that makes the intermediate level feel manageable.
You’ll practice:
- how to use the lanyard (safety rope)
- how to abseil using your system correctly
- hand signals used in the canyon
If you’re the type who likes to know the rules before you play, you’ll appreciate this. Guides Eddy and Harry (named in one of the guide experiences) are noted as making the day memorable and safety-focused. The combination of instruction plus real-time guidance is what keeps the fun from turning into chaos.
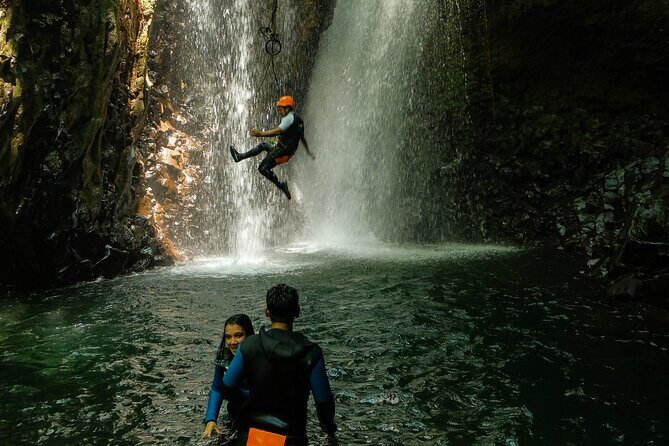
5) The descent: slides, jumps, and rappels
Now the canyoning fun kicks in. The descent includes several elements:
- slides
- jumps
- abseils (rappels)
Think of it like a sequence of mini challenges. Instead of only “down, down, down,” you get different movement types, and that keeps the adrenaline from flattening into monotony. You’ll be dealing with water, rock texture, and gravity all at once, so having your instructor controlling pace and technique matters.
This is where the tour earns its “intermediate” label. You’re not just walking through wet scenery. You’re actively using your skills while going through obstacles.
6) Hike back out, then a big local lunch
When you finish the descent, you return by hiking. That climb-out matters because it reminds you how you got in: your legs are doing their part, even when the fun part is over.
Lunch then hits hard in the best way. There’s a big lunch featuring local food. It’s not just a token bite. It’s meal-recovery fuel after hours in a wetsuit and moving through water.
During lunch, you get your GoPro footage from the descent. That timing is smart: you’re relaxed enough to watch it, and you’re already sitting down.
7) Head back to your hotel
Finally, you head back to your accommodation with the same easy transfer setup. The point is that your day ends cleanly, without you needing to line up another transport plan.
Value and what you’re really paying for
The listed price shows as $0.00 per person, which may not reflect the real booking total (prices often vary by date and availability). So instead of obsessing over the number, I look at the value mix.
You’re getting:
- round-trip transfers from any Bali hotel
- an instructor who handles briefing and canyon start training
- full canyon gear (wetsuit, harness, helmet, boots)
- GoPro photos and videos for your own device
- breakfast snack with tea or coffee
- a big local lunch
- insurance included
- small group cap (8 max)
In other words, you’re paying for a guided, regulated day where safety training and equipment are built in. That’s the opposite of DIY canyoning, and it’s what makes an intermediate trip feel approachable. If you ever priced out “transport + guide + gear + insurance” separately, you’d likely see how the package makes sense.
Also, the GoPro footage is a real convenience. You’re not renting a camera setup, and you don’t have to scramble to capture every moment. You get the visual proof and the memories in a way that actually works with your day.
Transfers and timing: the real comfort factor
No one wakes up excited to play transport planner. This tour removes that stress by offering pickup from your hotel anywhere in Bali and dropping you back afterward.
The duration is about 11 hours, with operation hours from 7:00 AM to 5:00 PM. The start is typically early, and one guide experience included a pickup around 6 AM from Seminyak/Canggu area. That’s normal for north Bali trips because you’re covering distance and building in time for training and descent.
If you hate early mornings, this might be tough. But if you like getting the day moving and having the rest of your evening free, it’s a solid trade.
Gear, insurance, and why the setup matters
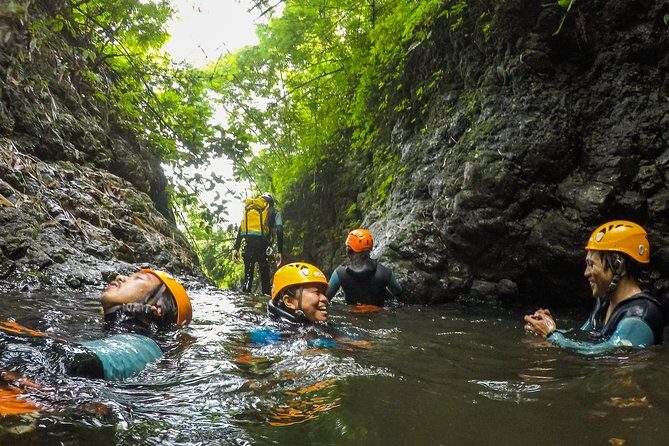
For canyoning, gear is not a “nice to have.” It’s the difference between a controlled descent and a painful learning curve.
You’re provided:
- wetsuit
- harness
- helmet
- canyoning boots
You’re also covered with insurance included. That won’t stop water and rock from being slippery, but it does reduce the risk burden that many people worry about.
The training is the other big piece. Learning how to use your lanyard and how to abseil before you go into the main descent is what keeps most people feeling safe. One of the biggest themes from guide experiences is the sense of being looked after the whole time, not just at the beginning.
Food and recovery: breakfast, lunch, and why it matters
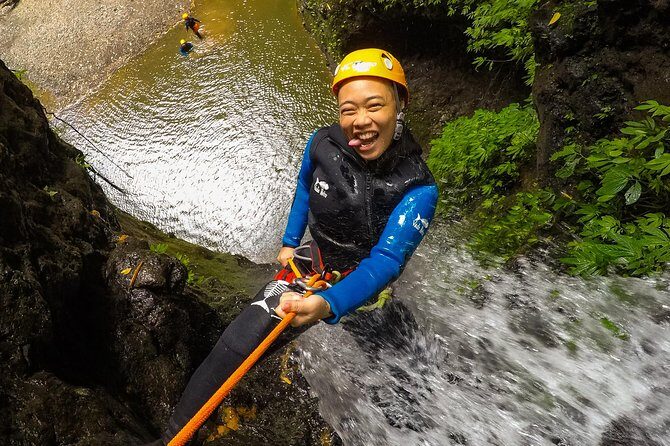
You get a light breakfast at the base with tea or coffee, plus a snack-style setup. Then after the descent, you get a big local lunch.
That meal rhythm is practical. Canyoning is physical, wet, and demanding. If you show up hungry or skip food, you’ll feel it later. The tour’s meal plan helps you stay focused during the descent and comfortable during the hike back.
One extra bonus is the pacing: lunch is when the GoPro footage is shared. That means you can watch your highlights while you’re rehydrating and letting your legs recover.
GoPro footage: how it benefits you after the canyon
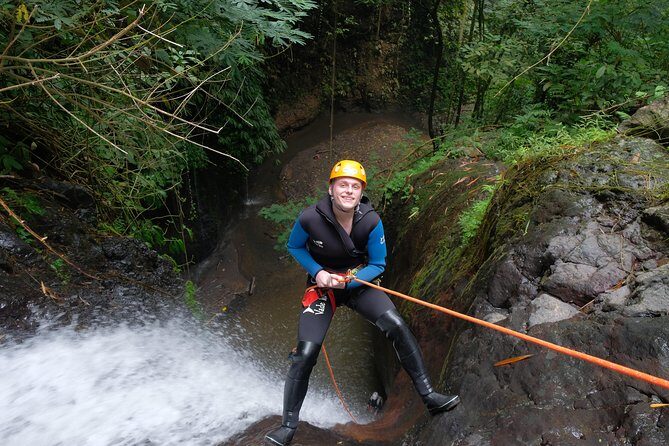
This is one of the smartest inclusions. You get GoPro photos and videos, and the tour highlights that you can save them to your own device without extra charge.
What this does for you:
- You get action shots without mounting your own camera setup
- You can relive the jumps and slides clearly
- You don’t have to worry about waterproofing your gear in advance
One small note from the included/excluded list: USB storage is not included. So if you’re the type who wants a thumb drive, you may need to bring your own solution. But the core idea is that the footage is meant for your device.
Weather and cancellations: plan for the water mood
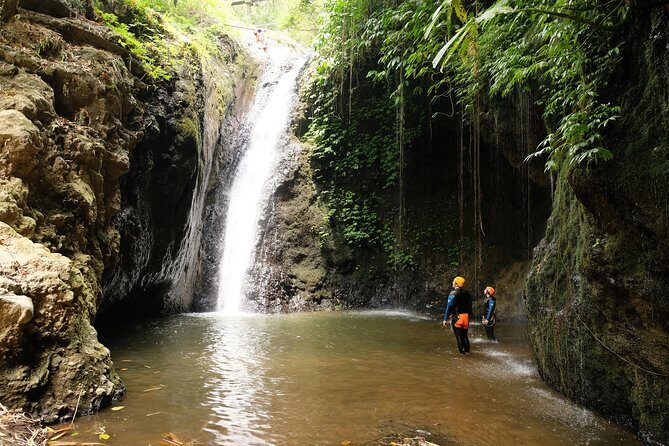
Canyoning depends on conditions, and the experience is noted as requiring good weather. If the trip gets canceled due to poor weather, you’ll be offered a different date or a full refund.
That’s the right approach for this type of activity. Rain can mean safer or worse conditions depending on the canyon and flow rate. The key for you is to be flexible with dates. If your schedule is fixed and you can’t shift anything, you might want a Plan B activity in Bali.
Who should book Maboya Canyon (and who should think twice)
You should book this tour if you:
- want jumps, slides, and rappels in north Bali
- feel comfortable with a moderate fitness day that includes hikes
- like structured safety training and clear guidance
- want a full package: transfers, gear, meals, and insurance
- care about getting your descent footage without extra hassle
You might think twice if you:
- struggle with longer active days or have balance concerns
- get anxious about heights and controlled abseils (even with training)
- want a low-effort scenic walk rather than an active canyon experience
This intermediate level is a sweet spot for many people who’ve done beginner canyoning or who are active and want to progress.
Quick practical tips for your day (so you feel good)
The tour includes a lot, so your job is simpler than DIY canyoning. Still, your comfort depends on a few basics.
- Wear clothes that dry fast and are easy to change from.
- Bring/keep your electronics secure and ready for the GoPro sharing moment.
- If you’re unsure about your fitness, be honest with yourself about the hikes and slippery ground.
- Hydrate before pickup if you can. You’ll be out for about 11 hours.
Also: the day includes wetsuit time, which can make temperature feel different than you expect. Don’t assume the weather just because it looks mild from town.
Should you book Maboya Canyon?
I think this is a smart booking if you want real canyoning action in Bali with minimal friction. The best part is the package design: small group size, hands-on lanyard and abseil training, canyon gear provided, insurance included, and the GoPro footage shared during lunch so you don’t wait around later.
If you’re chasing views only, there are plenty of waterfall days in Bali. But if you want water, movement, and controlled adrenaline, Maboya Canyon is built for that.
If you’re on the fence because you’re unsure about intermediate difficulty, focus on the training piece and the fact that you’re capped at eight people. That combination usually translates into a calmer, safer experience.
FAQ
How long is the Maboya Canyon intermediate tour?
It runs for about 11 hours (approx.), from hotel pickup to return drop-off.
Do I get picked up from my hotel anywhere in Bali?
Yes. The tour offers round-trip transfers and pickup from any Bali hotel.
What gear is included?
You’re provided with canyoning equipment, including a wetsuit, harness, helmet, and canyoning boots.
Do I get GoPro photos and videos?
Yes. GoPro photos and videos are included, and you save them to your own device. USB storage is not included.
How big are the groups?
The maximum group size is 8 travelers.
Is insurance included?
Yes, insurance is included as part of the package.
What if weather is bad?
The activity requires good weather. If it’s canceled due to poor weather, you’ll be offered a different date or a full refund.