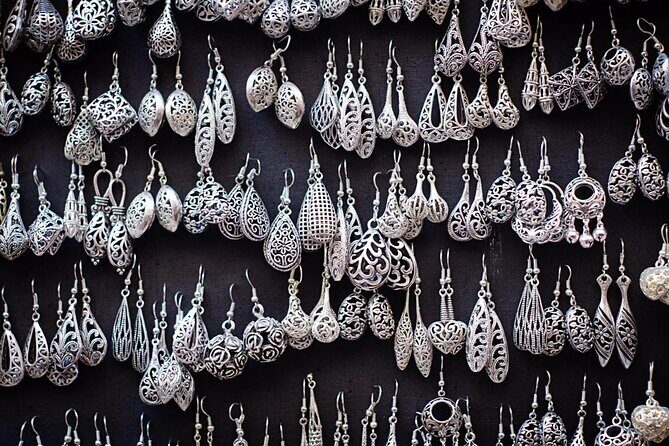
Silver, fire, and a wearable souvenir. This Ubud silver jewelry class walks you through the full make-from-scratch process, starting with your design and ending with a polished piece you can actually wear around Bali. It’s also small group by design, capped at 14 people, so the workshop doesn’t feel like a factory line.
I especially like that you get guided step-by-step help with the whole workflow, so you’re not stuck just watching. Two practical perks also matter: included materials and tools (no surprise shopping) and complimentary Wi‑Fi so you can post results right away.
One thing to plan for: the workshop is focused on a single piece per person, and the silver weight is capped. If you want more silver than the included amount, there’s an extra fee per gram, so your design choice affects your final cost.
Key highlights to know before you go
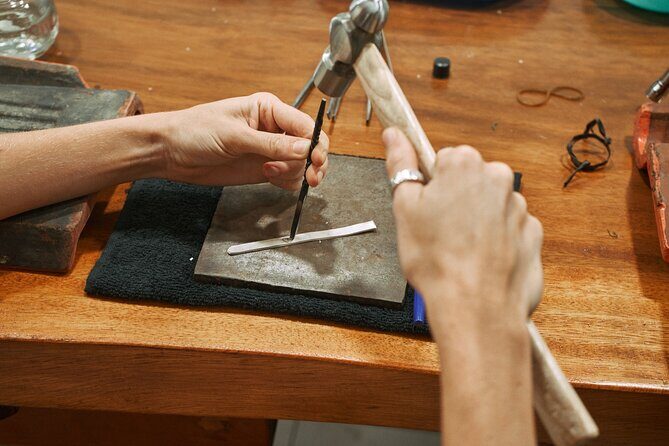
- Full process, not a demo: you start with design and finish with polishing
- One piece per person: you make a single ring, pendant, or bracelet-style item
- Small group cap: up to 14 participants for more hands-on attention
- Included comfort items: snack, mineral water, and free Wi‑Fi during the session
- Accessible workshop: wheelchair and stroller accessible
- Silver weight rules: you take home 1–5 grams (and extra silver costs per gram)
What You’ll Create: A 1–5 Gram Silver Piece You Designed
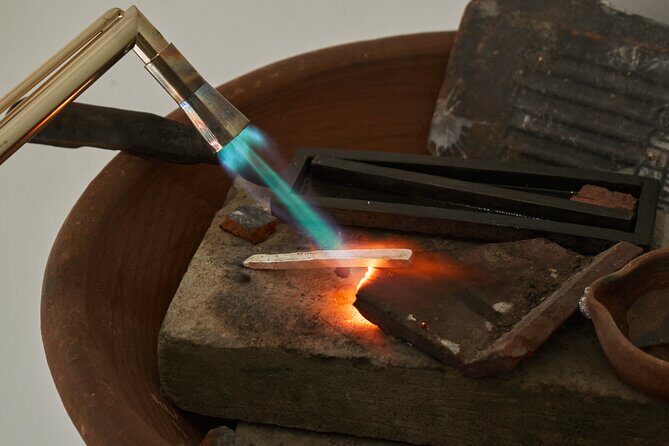
This workshop is built around a simple idea: you’re not just buying jewelry in Ubud, you’re making one. You’ll choose what you want to craft—typically a ring, pendant, or bracelet-style piece—then carry that choice through melting, forming, shaping, engraving, sanding, and polishing.
The silver weight matters because it controls your design. Your take-home piece starts at 1–5 grams, depending on what you choose, and there’s a rule that if the final weight ends up under 5 grams, it’s still accounted for as 5 grams. That means the class is structured so your project stays within a predictable size.
Also important: you can only make one silver jewelry piece per participant, and you can’t share silver with someone else. In other words, don’t plan on splitting the metal between two people to make a bigger statement. The class is designed for individual creativity and a final wearable souvenir that’s truly yours.
The Hands-On Workflow: From Design to Polished Shine
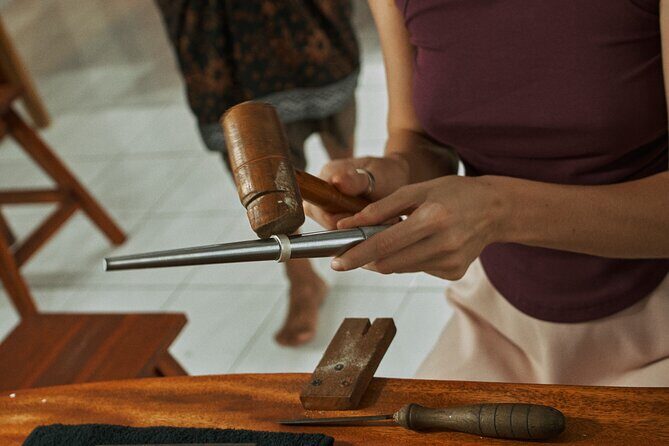
The rhythm of the class is the real attraction. You’ll move through the metalworking steps in a clear order, so you understand what each action changes in the piece.
First, you pick your design. You may select from patterns available in the workshop, or you may sketch your own idea if you want something more personal. This part is more than paperwork—it sets up what you’ll do later, because your design determines the shapes you’ll press, engrave, and finish.
Next comes the metal process. Pure silver is melted down and poured to form a silver bar. After that, you roll and press the bar to get the thickness you need for your final jewelry. If you’re the type who loves watching a plan turn into a physical object, this is one of the most satisfying parts. You go from idea → metal → workable form.
Then you shape the piece and refine it. You can add intricate details through engraving. After engraving, the sanding step helps smooth the surface and knock down rough edges. That is where a lot of the “craft” feel kicks in, because sanding affects how the piece will look once it’s polished.
Finally, you polish. Polishing is what transforms your work from handmade and matte into something that catches light. It’s also the step that makes it feel ready to wear, not just ready to show off.
Small-Group Support in Ubud Town Center (Why It Feels Personal)
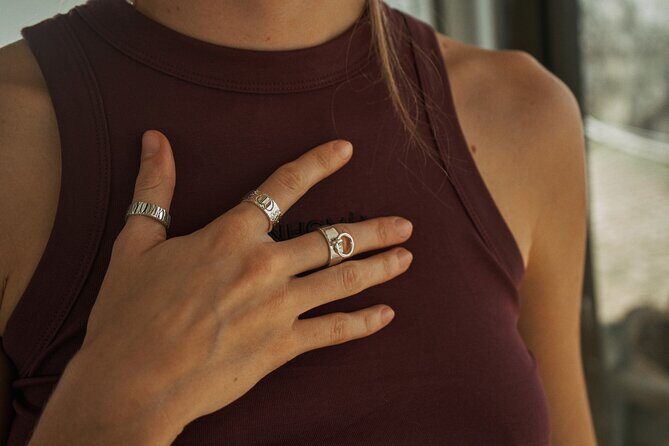
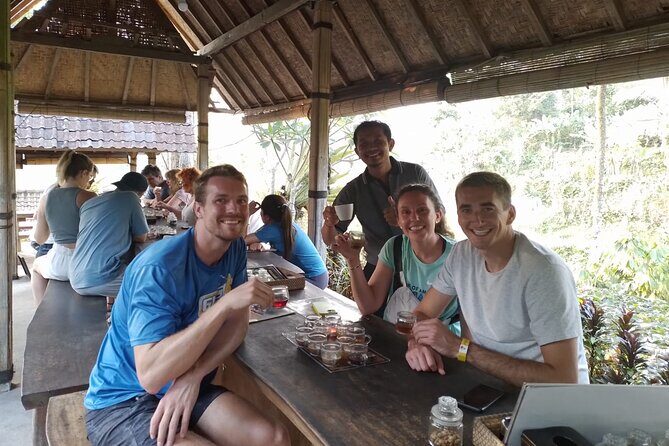
The class is capped at 14 people, and that number changes the experience. In a bigger group, you can end up waiting for help. Here, the structure supports real guidance as you work through each phase.
You’ll get assistance from skilled artisans throughout the session, and the tone is patient and practical. One review specifically calls out a teacher named Lau for being wonderfully patient while helping participants through the process. That kind of staff attention matters because silver jewelry making needs care—small mistakes compound quickly when you’re shaping metal, engraving, and sanding.
This is also a good workshop if you want a more grounded pace than the constant rushing you can get in busy Ubud. You’ll be focused on your piece, not competing for space in a crowded market. And since you’re in an intimate group, you can ask questions when you hit a snag, rather than waiting for a turn.
On top of that, you’re offered a break from the practical travel messiness: the workshop includes a snack and mineral water, plus free Wi‑Fi to help you handle messages or upload photos while you wait between steps.
Choosing Your Design: Patterns vs Sketching Your Own
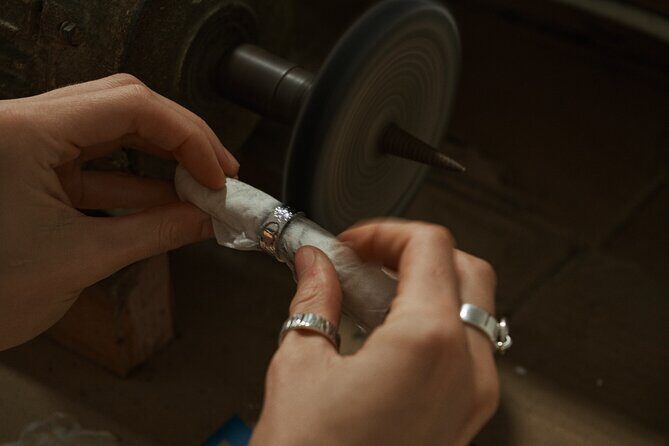
If you’ve ever bought a souvenir in Bali and thought, I like it, but it’s not exactly me, this is the fix. The design stage lets you steer the piece toward your taste.
From what’s available, you can choose from different patterns presented at the workshop. That’s ideal if you want something that looks polished without spending time figuring out how a shape will sit on your hand or on a necklace chain later.
If you want more freedom, you may sketch your own idea. Even if you don’t consider yourself artistic, the goal here is progress, not perfection. You’re guided through the practical reality of turning a drawing into metalwork steps, like engraving and sanding. It also helps you think about proportions early—what will look balanced once it’s pressed to thickness and finished.
The best designs tend to match what you can comfortably carry and wear. Think small-to-medium details and clear shapes. When you choose an overly complex pattern, it can be more challenging within the silver weight rules, and it might take longer than you expect. Still, the class is structured so you’ll finish with something complete.
Price and Silver Weight: How to Avoid Sticker Shock
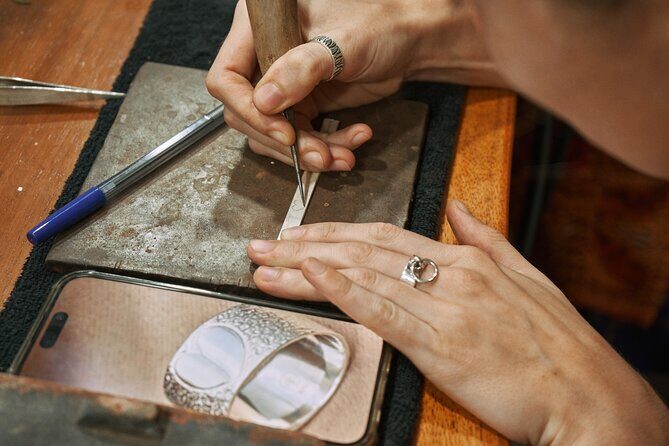
The price is $41.87 per person, and the value is tied to what’s included. You’re not just paying for labor. You’re also getting the materials and tools, a snack, mineral water, and free Wi‑Fi. You’ll leave with a handcrafted silver piece, and the class is designed for a single wearable item.
The part that can surprise you is the silver weight. You take home 1–5 grams of silver, depending on your design. If you want more than 5 grams, there’s an additional fee of 85,000 IDR per gram. That’s not a hidden tactic—it’s simply how the pricing stays fair and predictable for the included class structure.
Here’s the practical way to think about it: if you’re drawn to a chunky ring or a very detailed pendant, it may push you toward the extra-gram territory. If you’re aiming for a delicate everyday piece, staying within the included range is usually the easiest route.
Also note the rule that you can only make one piece per person, and you can’t share silver with another person. So the best value comes from committing to one design you genuinely want to wear, not trying to maximize the metal output across multiple mini-items.
Where It Happens in Ubud: Town-Center Convenience
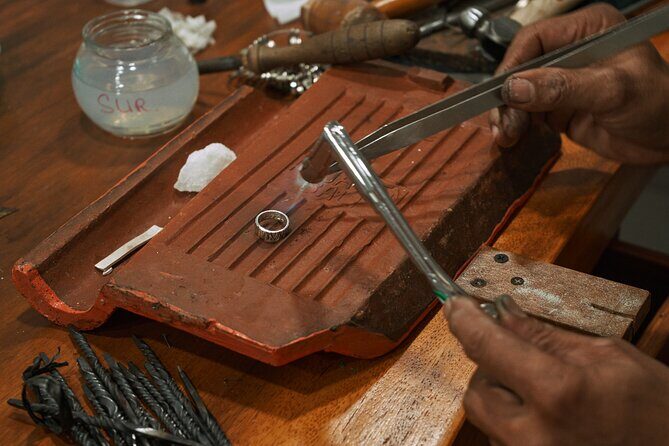
This runs in Ubud Town Center Silver Class, on Jl. Bisma, Ubud. It starts there and ends back at the meeting point, so you’re not stuck figuring out a second drop-off or transfer.
It’s described as near public transportation, and that matters if you’re bouncing around central Ubud. You’ll also want to plan around the class timing rather than a long travel buffer. Since you’re in the middle of Ubud, it’s easier to pair this with other town plans—like an evening meal right after your workshop—if your schedule is flexible.
One more small but helpful point: it’s a mobile ticket experience, so you’re not scrambling with paper confirmations. And the venue is wheelchair and stroller accessible, which is a big deal if you’re traveling with mobility needs in a place where many small streets and shops can be awkward.
Finally, service animals are allowed, so if that applies to you, you’ll likely feel better walking in knowing it’s supported.
Who This Is For (and Who Might Prefer Something Else)
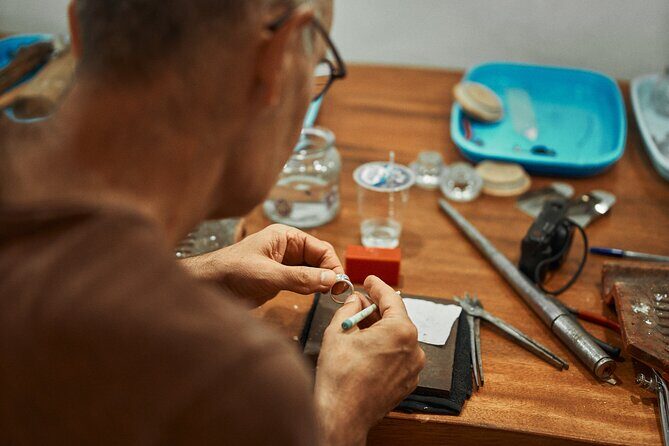
I’d put this workshop at the top of the list for travelers who like doing one meaningful activity instead of collecting souvenirs. If you want an authentic Bali memory that’s wearable, and you enjoy hands-on work—even something that’s a bit physical—you’ll probably love the feeling of turning raw silver into a finished piece.
It also suits groups of friends who want something personal. Because each person makes one piece, you’ll all leave with different designs rather than identical keepsakes.
If you’re traveling with limited time, you should still know the timing range. The class lasts between 1 and 3 hours, depending on how complex your jewelry design is. If your schedule is razor tight, choose a simpler design idea so you’re more likely to land closer to the shorter end.
If you want the biggest, thickest statement piece possible, this class may feel restrictive because of the included silver weight cap and the extra fee for more than 5 grams. In that case, you might look for a more flexible custom jewelry service elsewhere. But if your goal is an everyday ring or pendant with real craft behind it, this is very much the right format.
Should You Book the Ubud Town Center Silver Class?
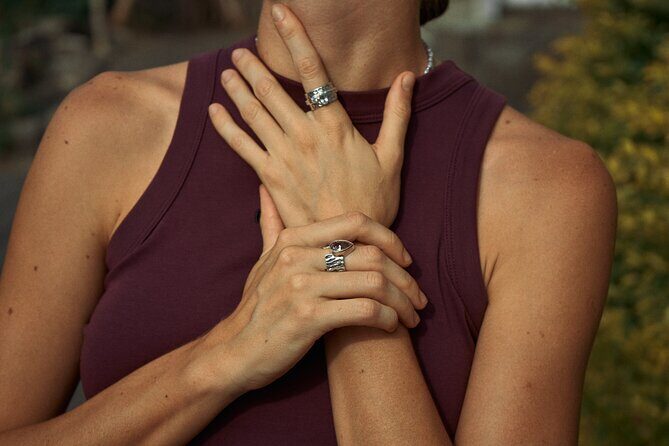
Book it if you want a hands-on Ubud experience that ends with something you can actually wear, not just a photo. The biggest wins are the full process (design to polish), the small group cap of 14, and the practical inclusions like tools, materials, snack, water, and free Wi‑Fi.
Skip or rethink it if you’re set on a very large silver piece or you’re planning multiple items for one person. The one-piece rule and the 1–5 gram structure are real boundaries, and the extra-gram fee is part of the deal.
If you go in with a clear design idea—simple shapes, thoughtful details, and realistic size—you’ll walk out with a souvenir that feels earned. And in Ubud, where buying jewelry is easy, that difference is everything.
FAQ
How long is the silver jewelry class in Ubud?
The class lasts between 1 to 3 hours, depending on the complexity of your jewelry design.
What silver weight do I take home?
You take home your silver jewelry starting from 1–5 grams. The final weight depends on your design, and if your piece is less than 5 grams, it is still accounted for as 5 grams.
What if I want more than 5 grams of silver?
There is an additional fee of 85,000 IDR per gram for any silver usage beyond 5 grams.
What’s included in the $41.87 price?
The price includes materials and tools, a snack, mineral water, and free Wi‑Fi. You also make one silver jewelry piece and take it home.
Is shuttle service included?
No, shuttle service is not included.
Is the class accessible for wheelchairs and strollers?
Yes. The class is wheelchair and stroller accessible, and it has a maximum of 14 travelers.