Two hours, one handmade keepsake. This Seminyak class is a hands-on souvenir upgrade, built for personal attention with a local silversmith as you turn a raw plan into real silver jewelry. You also get free WiFi in the studio for design ideas, plus air-conditioned comfort while you create. One thing to note: the studio is not wheelchair accessible.
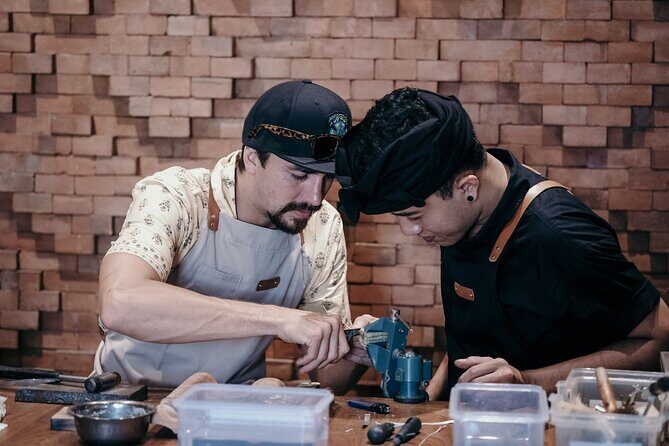
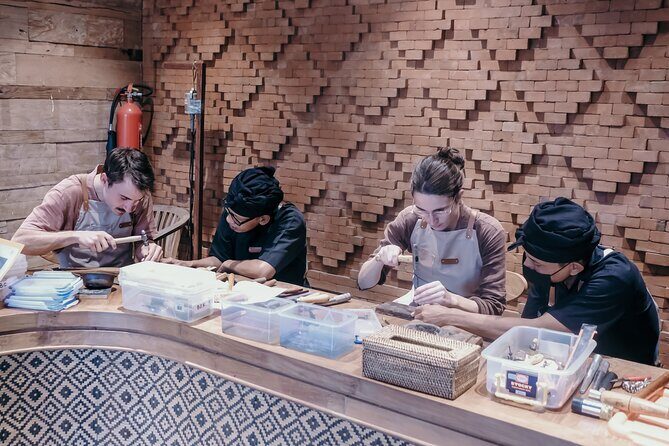
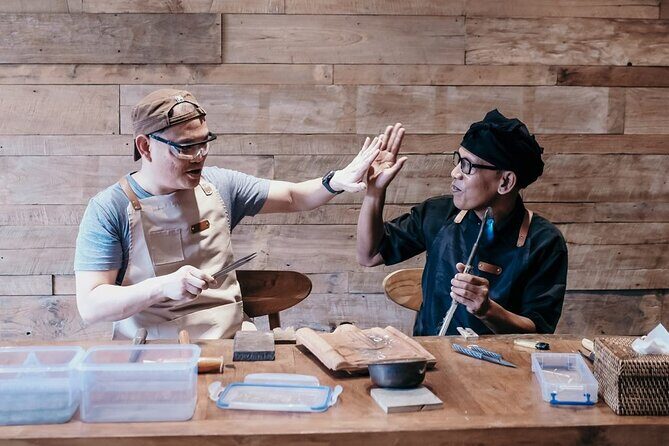
You’ll check in at the Padi Jewelry Classes studio in Seminyak, relax in the waiting area, and then jump into the workshop. In a group capped at 15, you’ll use jeweler’s tools to cut, shape, and finish your piece, with steps from concept to final polishing. You can choose a simple ring-style project or something more detailed, using the included silver allowance (1–6 grams, depending on what you make).
Key Highlights Worth Marking on Your Map
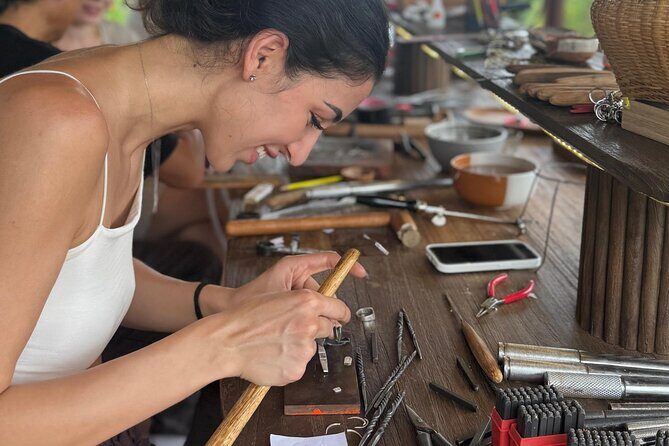
- Small group size (max 15) means the silversmith can slow down when you need it
- 1–6 grams of pure silver included for one design so you’re not buying materials separately
- AC studio plus bottled water keeps the experience comfortable, even when Seminyak is hot
- Studio WiFi helps you search reference designs or just stay connected
- Tools for shaping and finishing like grinding, sawing, filing, stamping, and hammering
Seminyak Silver Jewelry in 2 Hours: What You’re Actually Paying For
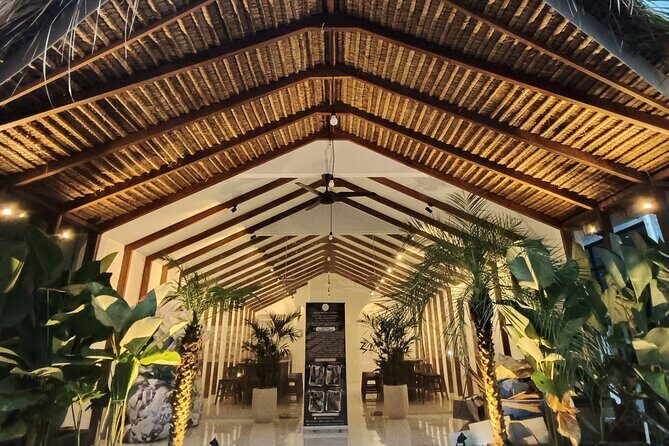
This class is built around one core idea: you don’t just watch jewelry get made. You make it. That’s the value. With a limited time slot of about 2 hours, you’ll focus on a single design path and learn the practical steps—cutting, shaping, texturing, and polishing—rather than spending hours on a long fabrication process.
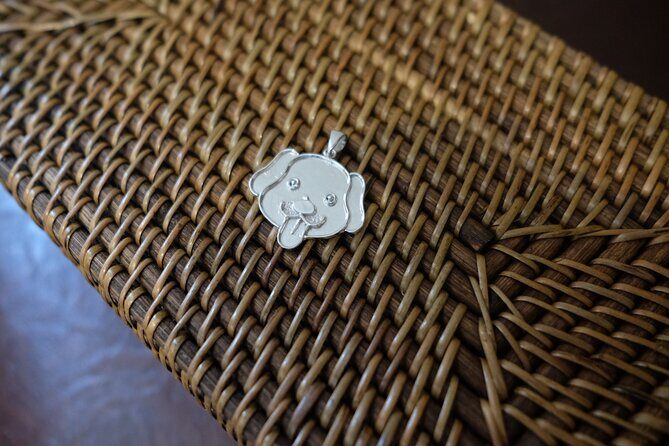
Price-wise, you’re paying for more than the metal. The included 1–6 grams of pure silver covers the material, while the fee covers expert guidance, studio tools, and the space to work comfortably. In places like Seminyak, it’s easy to overpay for souvenirs that look nice but don’t feel personal. Here, the point is a keepsake with your fingerprints on it—and knowledge you can reuse if you ever want to try again.
If you’re the type who likes doing one meaningful activity instead of collecting more stuff, this workshop fits well. If you only want a quick shopping stop, it might feel like too much work for your taste.
Getting to Padi Jewelry Classes in Seminyak (and Finding the Place Fast)
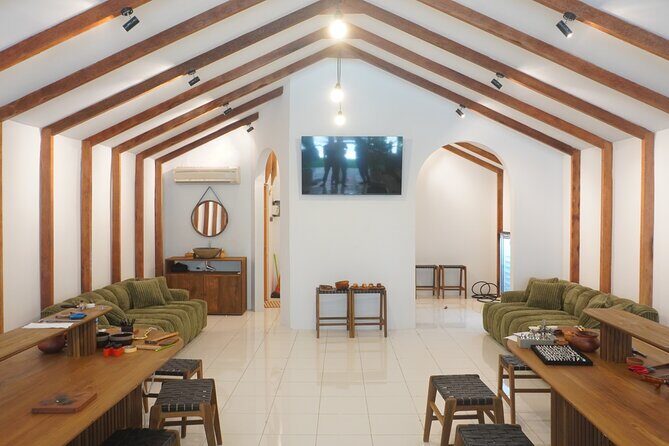
The meeting point is at KōsameJl. Mertanadi No.82, Kerobokan Kelod, Kec. Kuta Utara, Kabupaten Badung, Bali 80361, Indonesia. The activity ends back there, so you’re not stuck figuring out how to get home after you finish.
This is one of those activities where arrival smoothness matters. You’ll check in, get oriented, and then settle into the studio’s waiting room before you start. The good news: it’s listed as near public transportation, and it’s in a part of the Seminyak-area that’s generally easy to reach.
A practical tip from what people highlight: if you’re already riding in Bali on your own motorbike, the location is easy to find. If you’re relying on pickups or taxis, plan a little buffer time so you’re not rushed for your check-in.
The Studio Flow: Check-In, WiFi Break, Then Real Making
When you arrive at the studio, the pace is usually simple:
- Check in at Padi Jewelry Classes
- Wait in the studio area and get settled
- Use the free WiFi if you want to look up inspiration or message home
- Then start the workshop with the silversmith’s guidance
That WiFi detail is more useful than it sounds. If you come with a vague idea—like a ring style, a pendant shape, or a pattern you want—being able to quickly pull up references makes it easier to communicate what you’re aiming for.
You’ll also get bottled water and work in an air-conditioned studio. Those two bits matter because jewelry making is hands-on and detail-heavy. Cooling down while you work helps you stay focused, not sweaty and distracted.
From Design to Polished Silver: The Workshop Steps That Matter
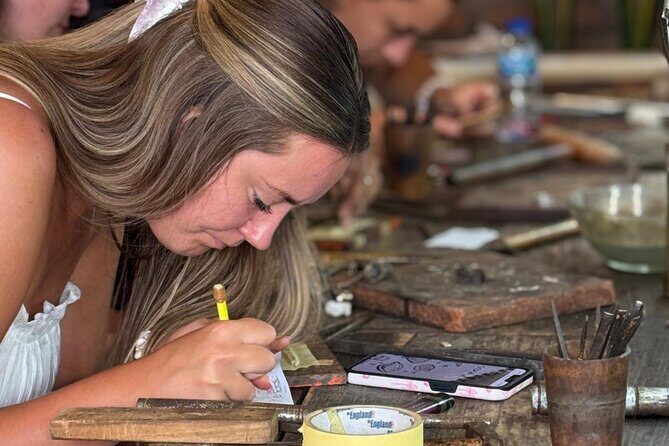
The main promise here is a full process, not a quick craft demo. The class walks you through the steps needed to go from raw material to a finished piece you can take home.
You’ll use 1–6 grams of pure silver for one jewelry design, meaning your project size and complexity should fit within that silver allowance. While you’re choosing what to make, the studio time is also for planning—so you’re not scrambling at the last second.
What the process includes (based on what you’ll learn and do):
- Start with initial concept/design
- Work through the shaping steps using professional tools
- Learn technique basics like stamping and hammering
- Finish with final polishing
This is the part I’d recommend you pay attention to even if you’re not trying to become a jeweler. Polishing is where a piece goes from “handmade” to “wearable.” It’s also where you’ll see the difference between rough effort and careful finishing.
Tools You’ll Use: Grinding, Sawing, Filing, Stamping, Hammering
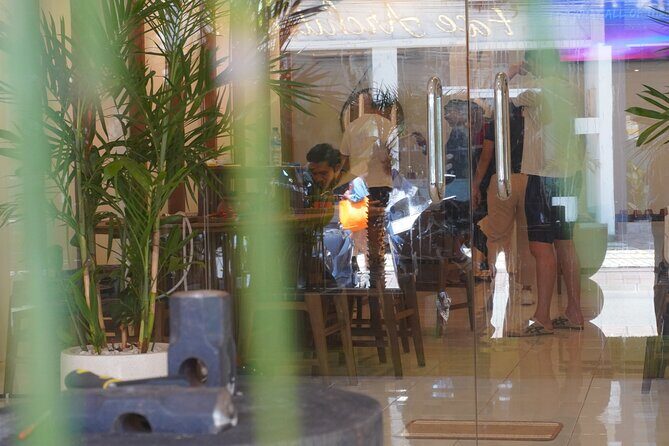
A lot of Bali craft experiences are more like painting or assembling. This one is more technical. You’ll use tools that real workshops use, including:
- Grinding wheels
- Jeweler’s saws
- Files
- Plus techniques like stamping and hammering
That tool list is important because it tells you the class isn’t just about being creative. It’s about learning control: cutting clean lines, smoothing edges, shaping the metal, and then finishing it so it doesn’t feel sharp or unfinished.
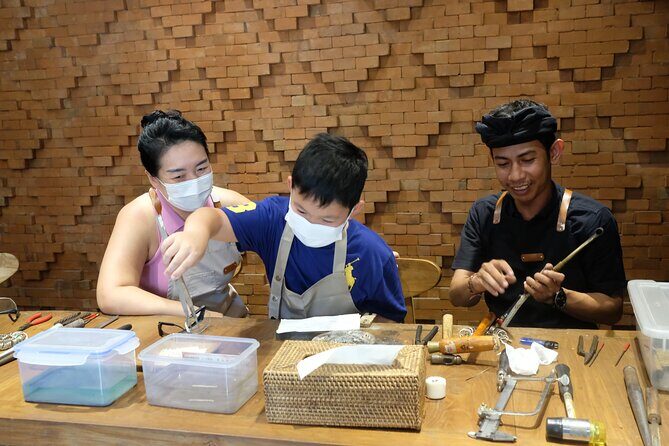
In the best versions of this kind of class, instructors don’t throw you in and hope for the best. Here, the workshop emphasizes guided steps and patience. People specifically call out instructors named Abi and Putu as being friendly and informative, with the kind of calm teaching that helps you correct mistakes instead of rushing past them.
If you’re nervous about tools, start with a simpler design idea in your head. The more complex your plan, the more you’ll need to keep an eye on time and silver allocation.
The Silver Portion: How 1–6 Grams Changes What You Should Make
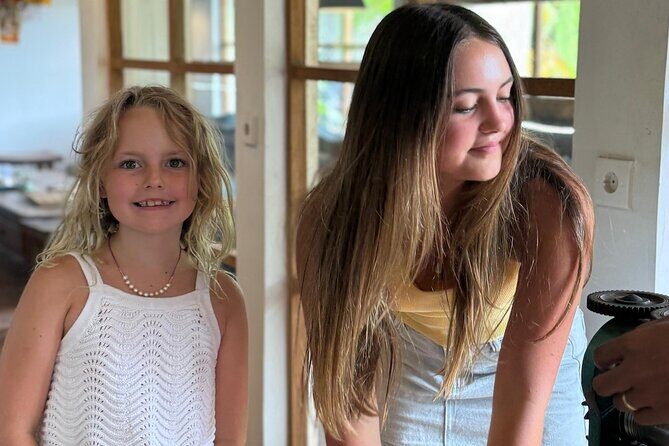
The class includes up to 0.21 ounces (6 grams) of silver for most pieces, with the practical range listed as 1–6 grams for your one design.
In real terms, that means:
- You’ll want to choose something that fits the silver you’re given
- Large, thick pieces may not be the easiest fit for the time and weight allowance
- Lighter, more streamlined ring or pendant styles often feel like a better match for a 2-hour workshop
If you’re planning what to make, aim for a design you can explain simply—shape, size, texture, and whether you want stamping details. If you show up with a complicated sketch full of tiny features, you might still be able to translate elements of it, but it may need simplification to stay within the silver and time limits.
This is exactly where the studio WiFi helps: you can quickly compare reference photos and pick something that looks great even if it’s scaled to a small project.
Comfort and Control: Small Group Attention in an AC Room
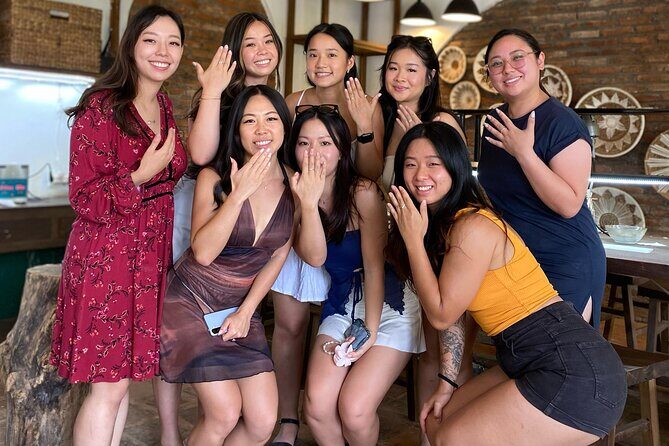
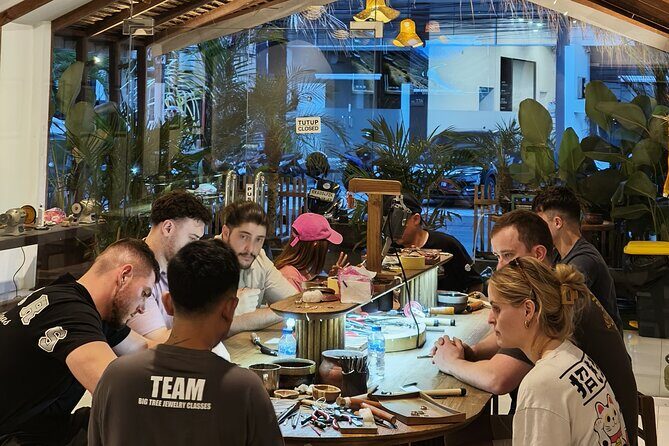
A big part of the positive experience is that it’s not a giant crowd. With a maximum of 15 travelers, the instructor can actually give focused attention. That shows up in how you’re taught: you can ask questions, adjust your piece, and keep moving without feeling like you’re constantly waiting your turn.
The studio environment is also set up for comfort. You’re working indoors in an air-conditioned studio, with bottled water provided. Then there’s a waiting room where you can settle in before you start.
If you’re comparing this to a typical “tourist craft table,” the difference is the instruction style. You’re not just handed materials. You’re learning a sequence of steps that results in a take-home piece.
Price in Context: Is $46.43 Worth It?
At $46.43 per person for about 2 hours, this class is offering a package: silver metal allowance, studio tools, guidance, and a finished keepsake you take home.
Here’s how to judge the value fairly:
- If you’d normally buy a souvenir jewelry piece in Seminyak, you’re used to paying for the look. This workshop lets you pay for the metal and the making process.
- You get enough silver for most small-to-medium designs, so you’re not supplementing your budget just to start.
- The included tools and AC workspace reduce the hidden costs you’d otherwise face if you tried to DIY or find a workshop on your own.
Also consider what you’ll actually remember. A handmade ring or pendant is the kind of item you keep wearing or gifting because it has a story. Even if your first attempt isn’t perfect, you’ll still own something made through skill-building.
If you’re traveling with friends and you each want a small piece, it can feel like a smart “shared experience” cost rather than a separate purchase cost for each person.
Upgrades That Might Be Worth Considering
The class includes the silver base, and there are optional add-ons:
- Gold plating is available for an additional charge
- There’s also mention of an option to join an evening class, if you want a later time slot
Gold plating can make the finished piece feel closer to the polished look many people want from jewelry-store items. If you’re making a gift, plating can also make the final effect more similar to what recipients are used to wearing.
Even without upgrades, silver jewelry can be versatile, and polishing can make it look clean and intentional.
Who Should Book This Silver Class in Seminyak?
Book it if you:
- Like hands-on activities where you leave with something real
- Want an authentic Bali souvenir that isn’t just store-bought
- Enjoy learning a practical skill, even at a beginner level
- Want a small-group experience with personal attention
It may not be the best match if you:
- Want a low-effort activity with no tools involved
- Need wheelchair access (the studio is not wheelchair accessible)
- Prefer long, wandering experiences with no tight time window
Families can also find the format appealing because the studio emphasizes patience and guidance, but the class involves metal tools and techniques like hammering and stamping. If you’re traveling with kids or teens, you’ll want to consider their comfort level with the workshop setting.
A Few Smart Tips Before You Go
These are the practical things I’d do to make your session smoother:
- Decide on a simple design goal before you arrive: ring shape, pendant shape, or a textured stamping pattern
- Use WiFi to pull 2–3 reference photos so you can describe what you want clearly
- Wear comfy clothes you don’t mind getting a bit dusty from metal work (even in an AC studio)
- Ask questions early rather than waiting until you hit a problem
- If you’re short on time, keep the design within the silver allowance and time frame
And if you’re someone who likes being extra prepared: confirm your class time and aim to arrive with a little buffer for check-in.
Should You Book? My Take for the Right Traveler
If you want a Bali souvenir with a story, this is an easy yes. The combination of small-group attention, real silversmith tools, and a take-home piece made during the class is hard to beat for the money. The studio setup—AC comfort, bottled water, and free WiFi—keeps it practical instead of stressful.
I’d skip it only if you need something wheelchair accessible or you’re not interested in hands-on work. But for most people who want a meaningful Seminyak activity, it’s a solid, satisfying choice that ends with something you can actually wear.







































.jpg)
.jpg)
.jpg)
.jpg)
.jpg)
.jpg)
.jpg)
.jpg)